


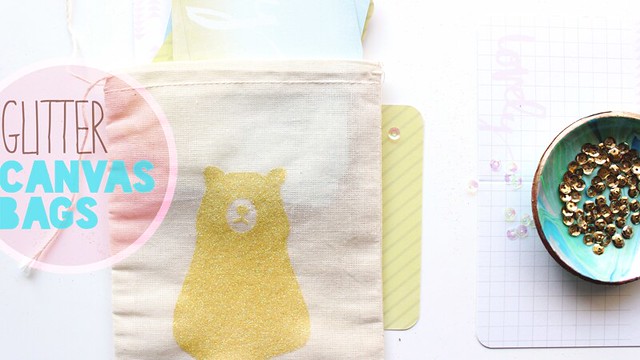
The other day the lovely Serena Bee received a little package I had mail her, sharing the goodies in a YouTube video on her channel. One of the items was a muslin / canvas bag that I had customized with a purple glitter bear. She mentioned in her video that she thought I had either made it or wondered where I had bought it, so I thought a fun, easy tutorial was in order. Below is a process video with a simple "how to" for these cuties:

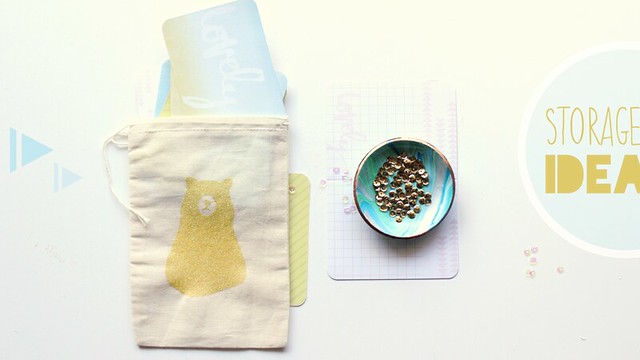
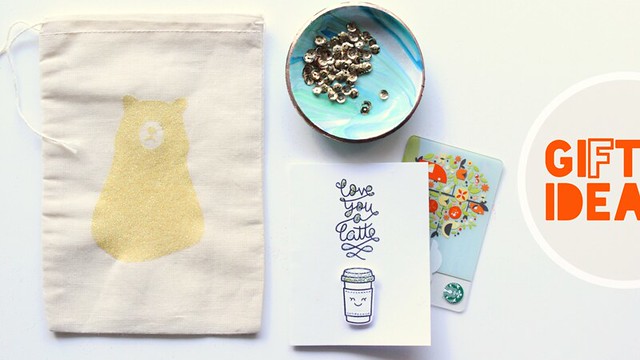
This project is perfect for gift giving, holding a minibook, or pretty scrapbook supply storage!! I use them to help organize some of my Project Life 4x6 and 3x4 cards.
Some things to note:
- If you use the same products I recommend in the video (or listed below) the glitter barely comes off (if at all) so sealing it is not necessary. You could however, use a thin layer of sealer over the top of the glitter if you prefer. I would recommend either a sealing spray or a thin layer for the fabric modge podge.
- When applying the fabric modge podge make sure to use a foam brush and "pat" it into all the creases of your fabric for a good coat otherwise you will not get ideal coverage.
- Don't forget you'll need to use FREEZER PAPER, not parchment or wax paper so one side is plastic or wax coated and the other is not.
- Make sure the plastic / wax side of the freezer paper is facing down when you go to iron otherwise it will stick to your iron instead of the fabric.
- Don't forget to cut a small piece of freezer paper to place inside your bag BEFORE adding the fabric modge podge so your bag doesn't dry stuck together on the inside.
- You can use this technique with any design cut from your die cutting machine. Hand cutting or using an exacto knife also works!
- The size I use in these photos and my example is 5x7 inches on Amazon (linked below), however the actual size measures just in-between 4x6 and 5x7 inches.

Products I used:
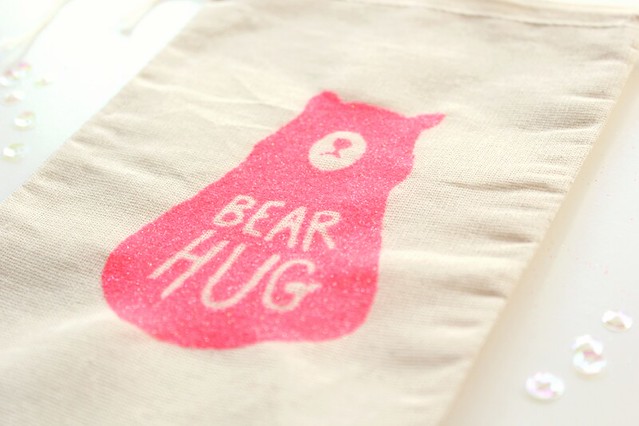
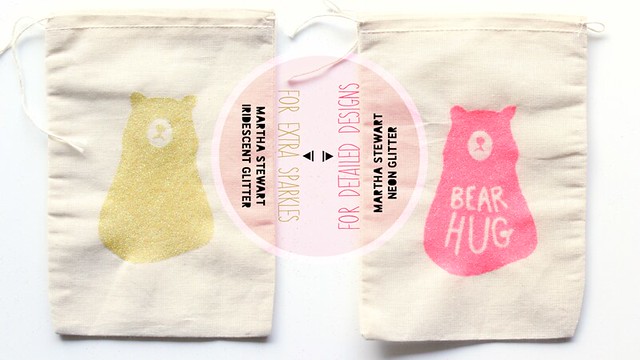
- The bear design is a digi from Studio Calico's Underground realease, and you can see all their CURRENT digital elements available HERE. In the products listed blow I have a picture/link of one of their digis from January 2015 in place of the bear since it is no longer available.
- The marbled clay dish I made was from using this DIY on A Beautiful Mess.


