Wednesday, June 24, 2015

{guest post w/ videos} for american crafts | summer week

Hello Everybody! Today I have an extra special summer themed guest post up over on the American Crafts blog : ) There are FIVE projects total, THREE of which I have process videos for on my YouTube channel. I also have a BONUS Project Shares Overview Video of all five projects up as well. I hope you enjoy!!! Happy summertime to you! XO


P.S. Below is a sneak of the cover of one of my four videos that go along with these projects ; )


Thursday, May 14, 2015

{day in the life} 2015 | round 1

{day in the life} May 2015

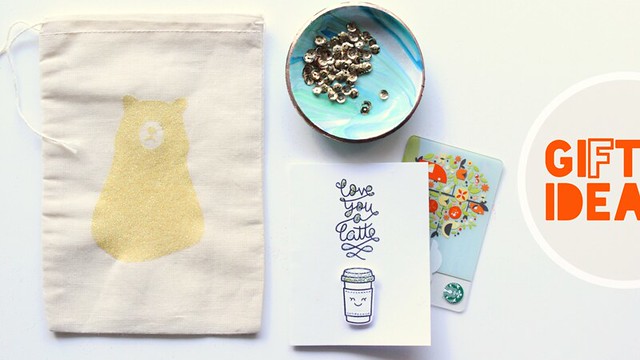
Hello blog world, I've missed you! I've been away enjoying time with our new little girl, and it is wonderful!! Today I have what few photos I took from playing along with Ali Edwards' Day In The Life. It was a slow start with the photo taking, and I didn't take as many as I'd like, but we're learning to go with the flow these days. Hopefully, I'll be doing a day in the life once a month to help document my daughters first year. I'm not sharing too much journaling here for privacy reasons, but did jot down our entire day in notes for when I decide to print these and do something fun with them. Actually, they'll probably just go in my Project Life album. If anyone else decided to play along, please leave a link in the comments....I'd love to see!

{day in the life} May 2015 | Collage 1

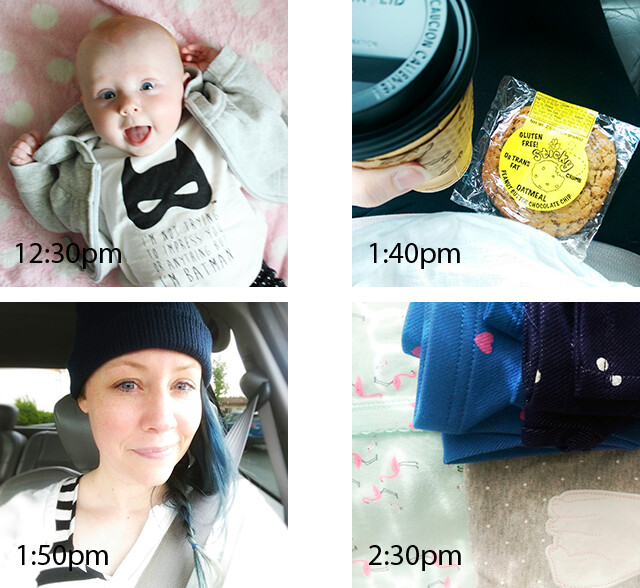
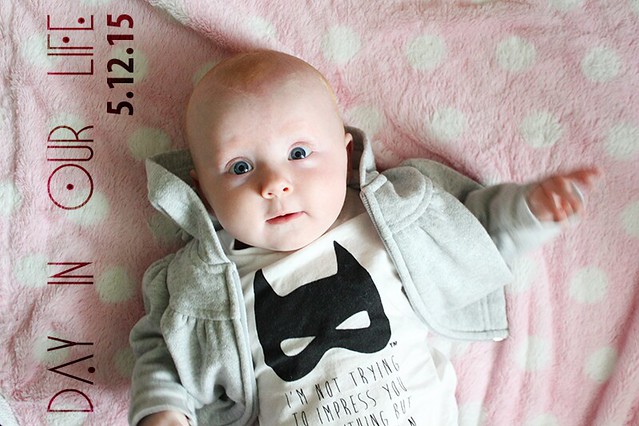
  • 12:30pm | One last diaper change and her first time wearing her Batman tee before leaving the house
  • 1:40pm | Vanilla chai and my favorite gluten free cookie for a snack after my eyelash tint appointment
  • 1:50pm | Rainy day errands
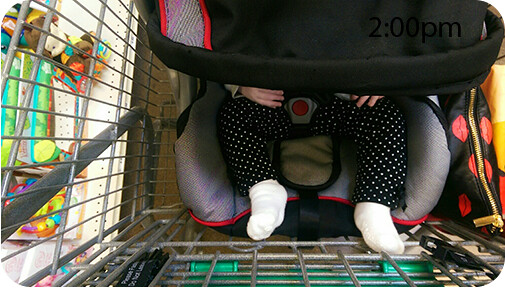
  • 2:00pm | Grocery store
  • 2:30pm | Some footie pajamas and leggings found at the store for my Little

  {day in the life} May 2015 | Grocery Store
{day in the life} May 2015 |  Collage 2

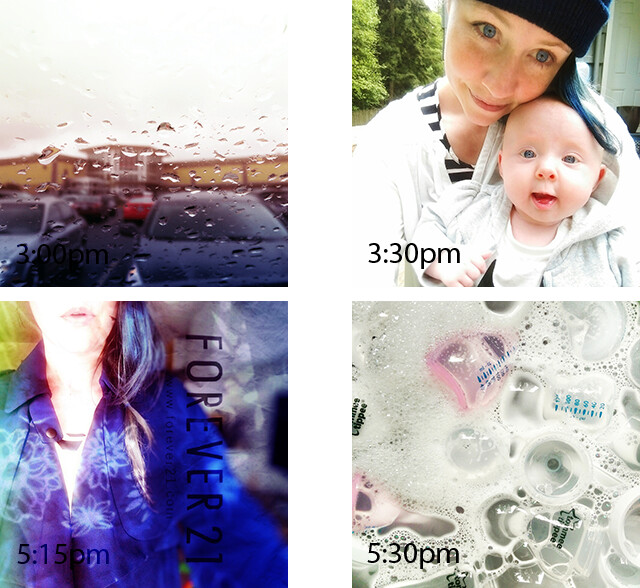
  • 3:00pm | Arrived back at the car to raindrops 
  • 3:30pm | Back home for a quick selfie with my Honey
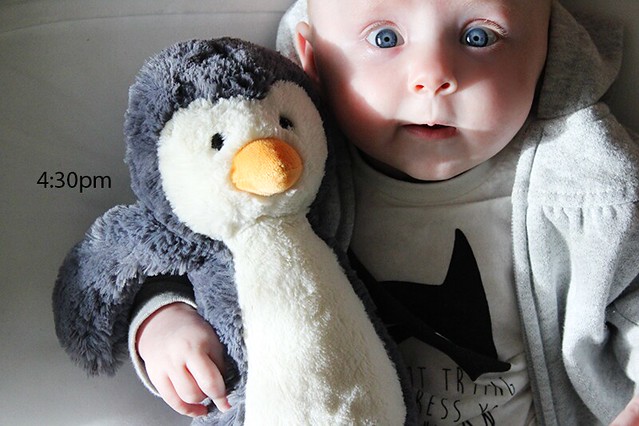
  • 4:30pm | Penguin Snuggles while she watches a few minutes of Rio 2 (the singing is her favorite part)
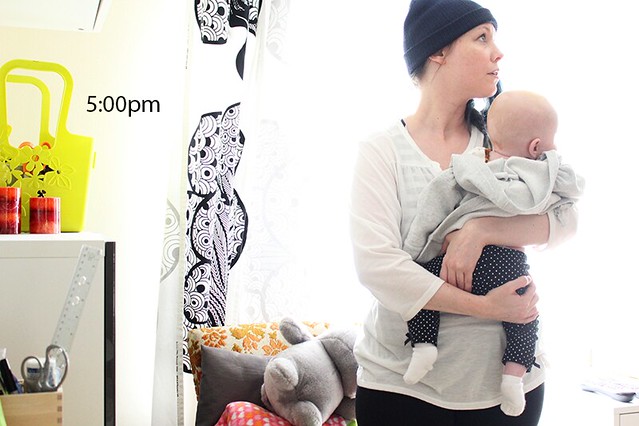
  • 5:00pm | Mama and baby time
  • 5:15pm | UPS dropped off the blue trench coat I ordered
  • 5:30pm | Bottles and bubbles

{day in the life} May 2015 | Penguin Snuggles{day in the life} May 2015 | Mama Stuff {day in the life} May 2015 |  Collage 3

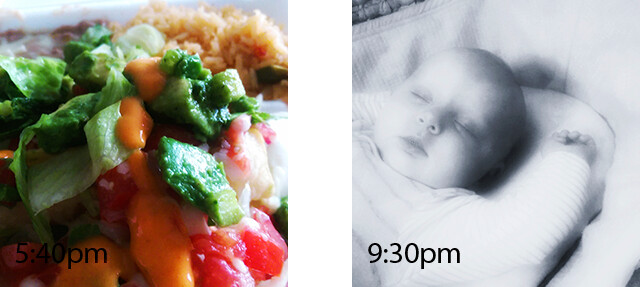
  • 5:40pm | Ryan arrived home with one of my favorite carry out dinners 
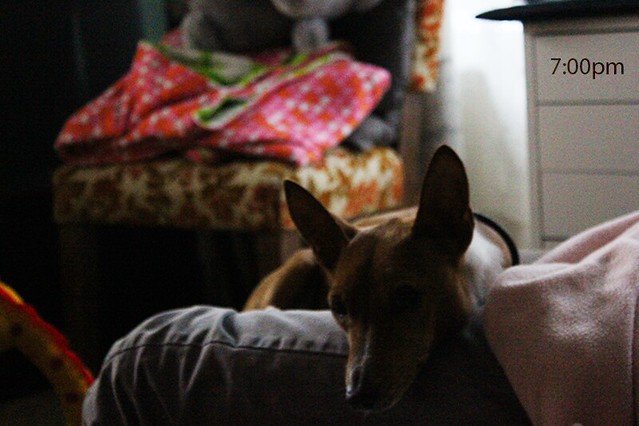
  • 7:00pm | Papa gets baby and puppy time all at once
  • 9:30pm | A late bedtime from teething

  • Thanks for taking a peek at our day!  See ya soon!! XO

    {day in the life} May 2015 | Gatsby

    Thursday, January 8, 2015

    {craft process} glitter canvas bags

    glitter canvas bags | tutorial

    The other day the lovely Serena Bee received a little package I had mail her, sharing the goodies in a YouTube video on her channel. One of the items was a muslin / canvas bag that I had customized with a purple glitter bear. She mentioned in her video that she thought I had either made it or wondered where I had bought it, so I thought a fun, easy tutorial was in order. Below is a process video with a simple "how to" for these cuties:
      glitter canvas bags | supplies

    This project is perfect for gift giving, holding a minibook, or pretty scrapbook supply storage!! I use them to help organize some of my Project Life 4x6 and 3x4 cards.

    glitter canvas bags | storage idea
    Some things to note:
    • If you use the same products I recommend in the video (or listed below) the glitter barely comes off (if at all) so sealing it is not necessary.  You could however, use a thin layer of sealer over the top of the glitter if you prefer.  I would recommend either a sealing spray or a thin layer for the fabric modge podge.
    • When applying the fabric modge podge make sure to use a foam brush and "pat" it into all the creases of your fabric for a good coat otherwise you will not get ideal coverage.
    • Don't forget you'll need to use FREEZER PAPER, not parchment or wax paper so one side is plastic or wax coated and the other is not.
    • Make sure the plastic / wax side of the freezer paper is facing down when you go to iron otherwise it will stick to your iron instead of the fabric.
    • Don't forget to cut a small piece of freezer paper to place inside your bag BEFORE adding the fabric modge podge so your bag doesn't dry stuck together on the inside.
    • You can use this technique with any design cut from your die cutting machine.  Hand cutting or using an exacto knife also works!
    • The size I use in these photos and my example is 5x7 inches on Amazon (linked below), however the actual size measures just in-between 4x6 and 5x7 inches.

    glitter canvas bags | florescent coralglitter canvas bags | gift idea glitter canvas bags | simple or detailed glitter canvas bags | lemon drop glitter

    Products I used:

    • The bear design is a digi from Studio Calico's Underground realease, and you can see all their CURRENT digital elements available HERE.  In the products listed blow I have a picture/link of one of their digis from January 2015 in place of the bear since it is no longer available.
    • The marbled clay dish I made was from using this DIY on A Beautiful Mess.