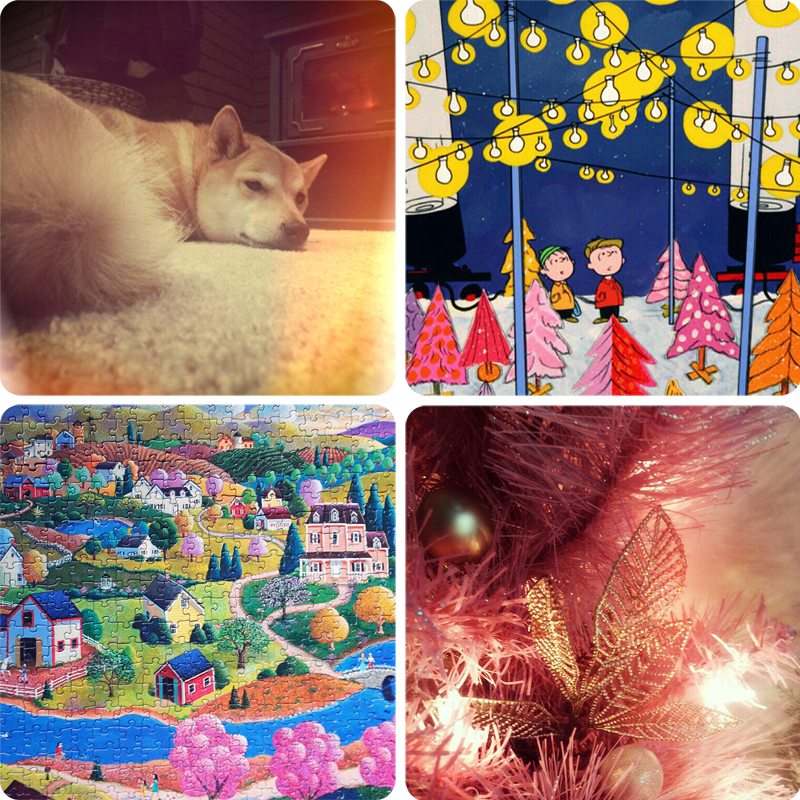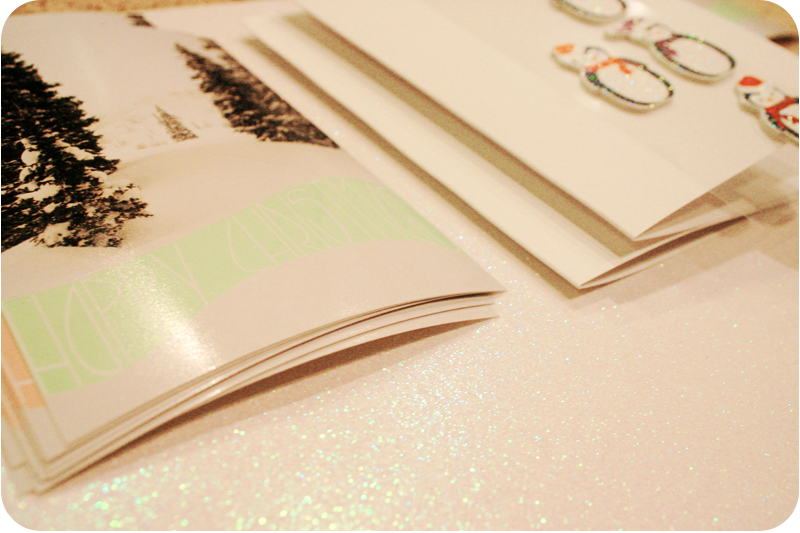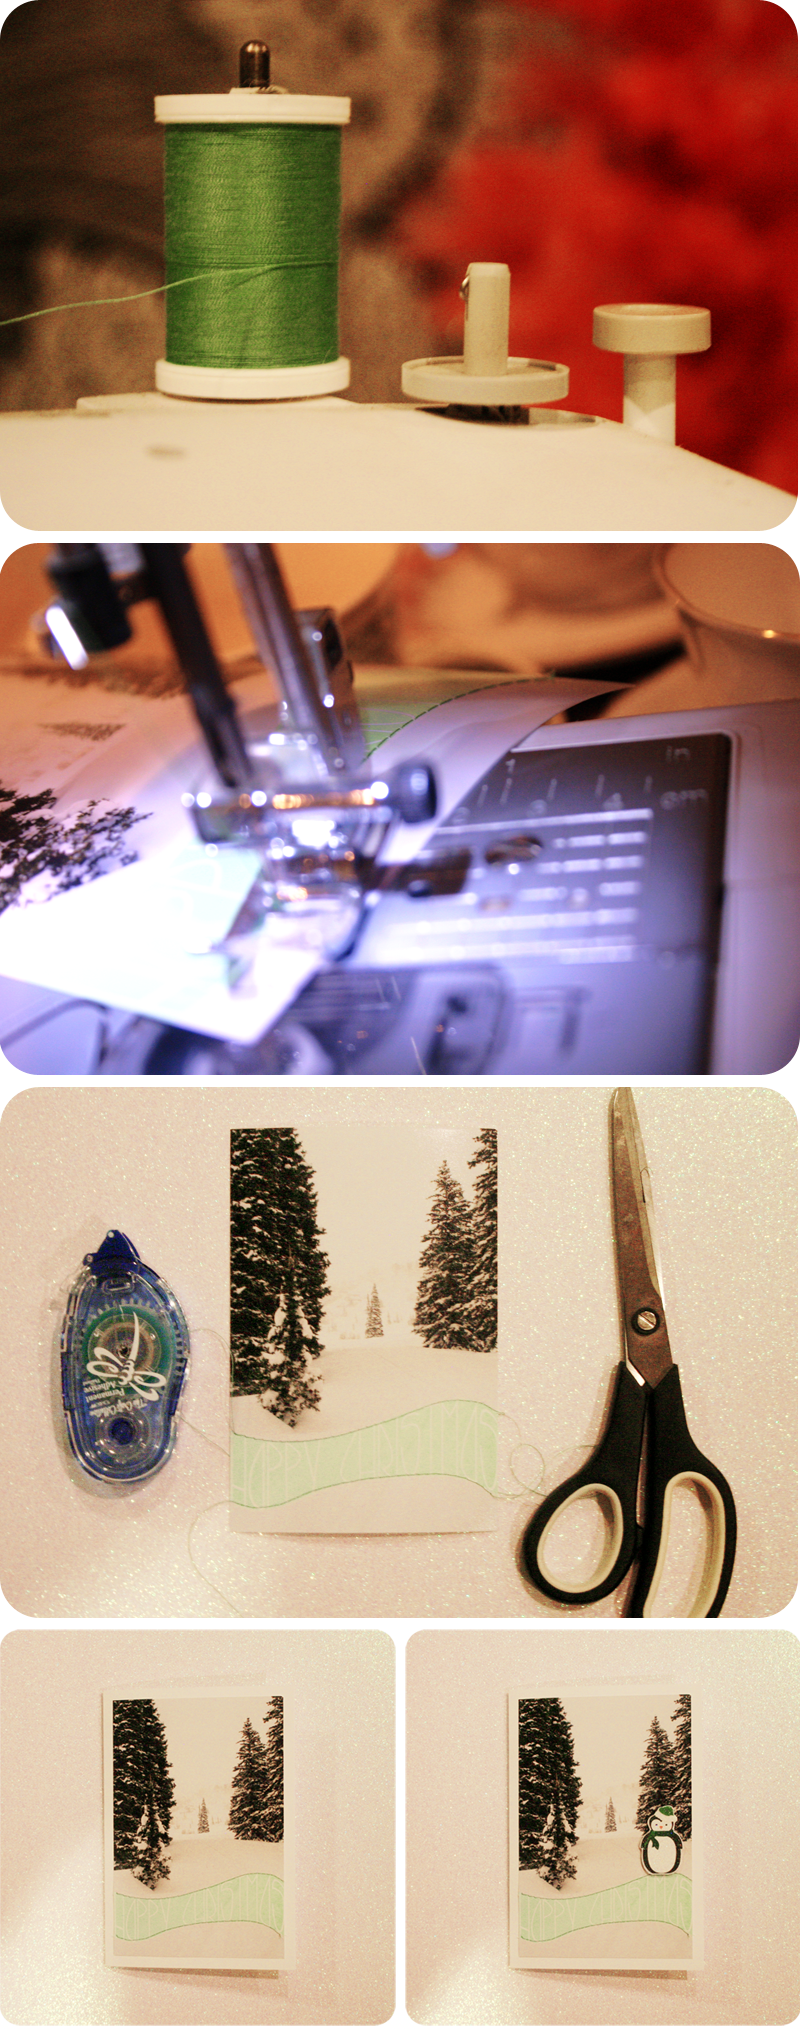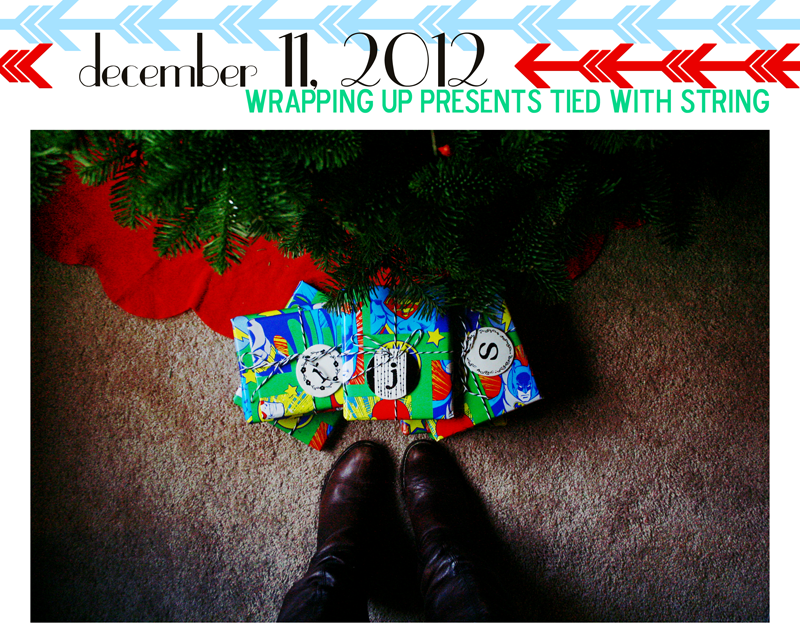
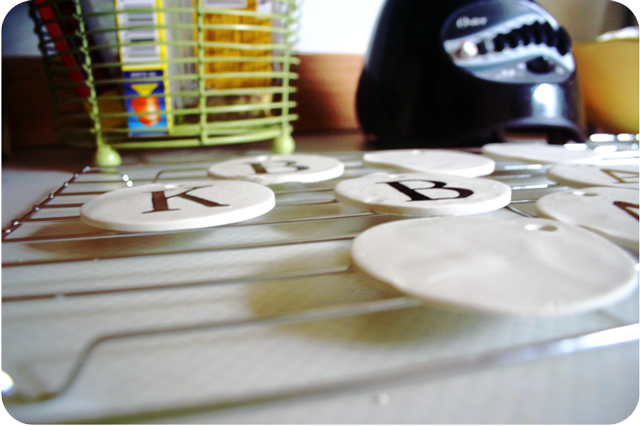
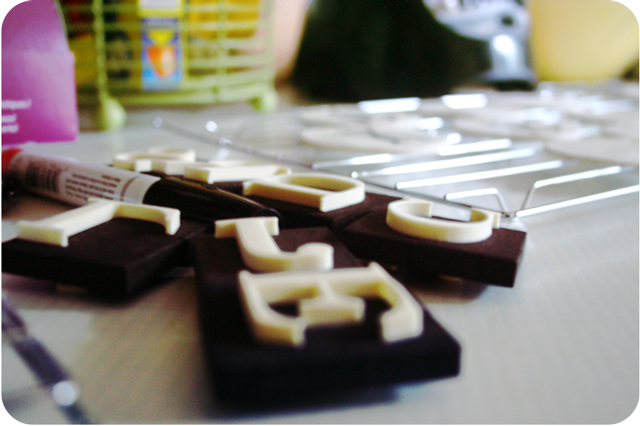
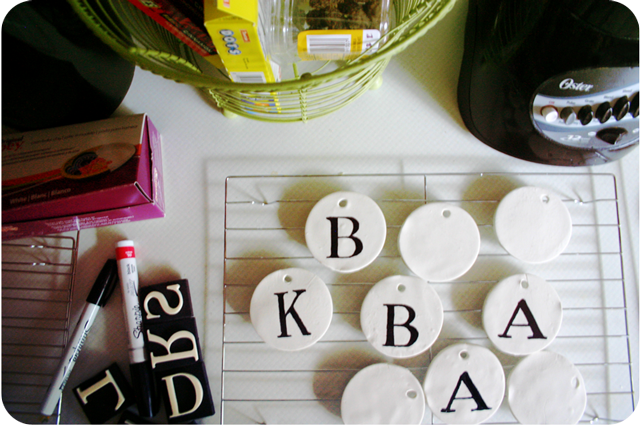
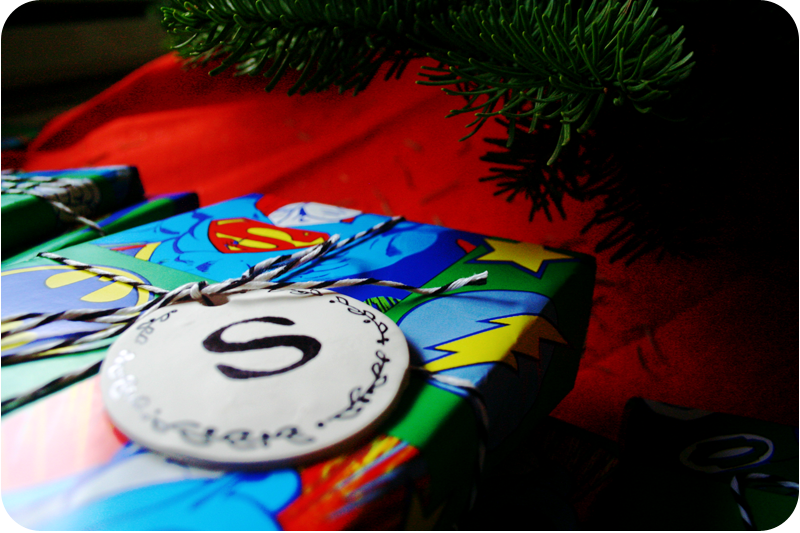
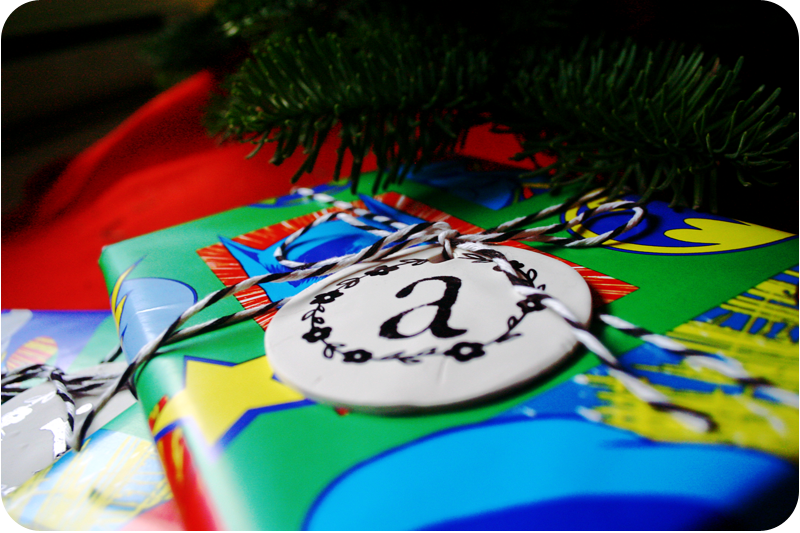
On Tuesday I was finally able to start wrapping up presents. I used THIS tutorial from A Beautiful Mess to make the ornaments that I'm using as gift tags for this year. The only thing I changed is that I stamped my letters with the medium tip sharpie paint pen and a foam letter stamp set, and then also used the extra fine tip sharpie paint pen for the embellishment around the initial. I have a very shaky hand so drawing around the initials was difficult for me.....But I'm happy to say I managed and am kinda loving how they turned out. Now I can't wait to finish up more handmade gifts so I can continue wrapping!

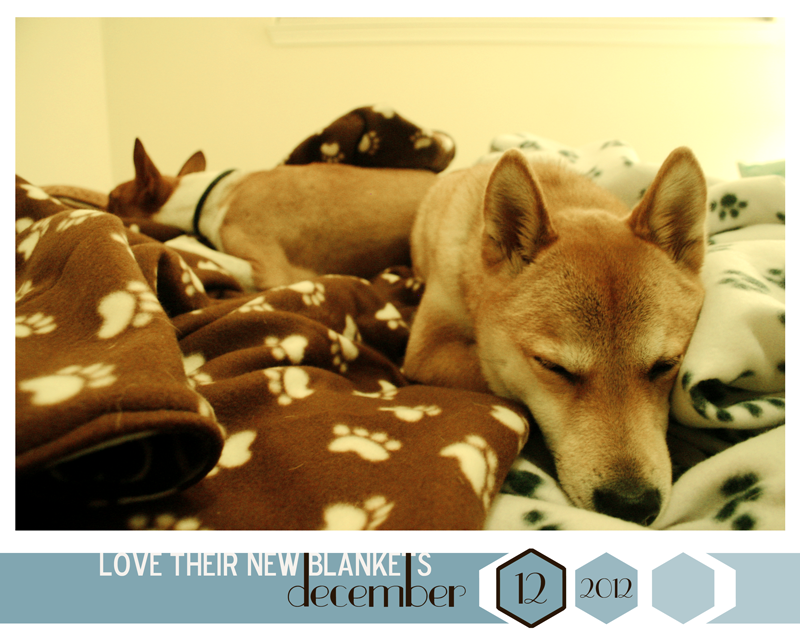
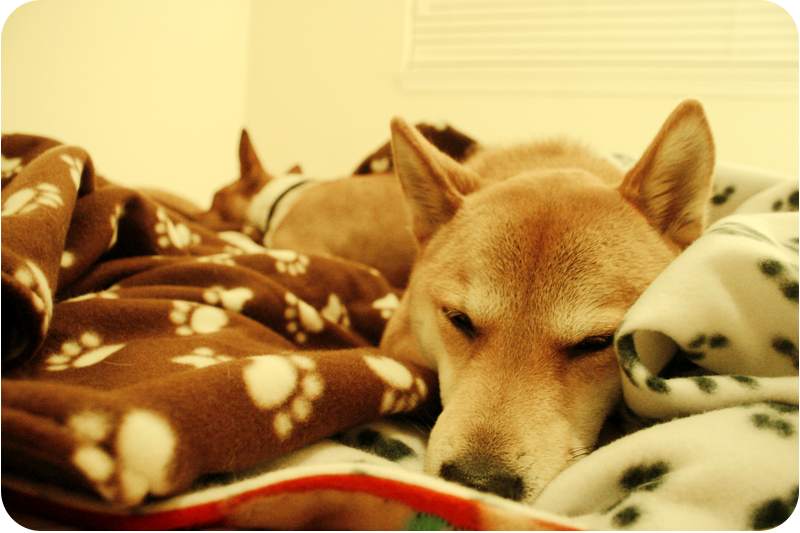
Yesterday I wanted to tell the story of the puppies and how much they love their new blankets. Ryan's Mom handmade and mailed two, one for each of them. It's one of my favorite things right now.....to watch Ponyo and Gatsby enjoy these soft gifts. XO
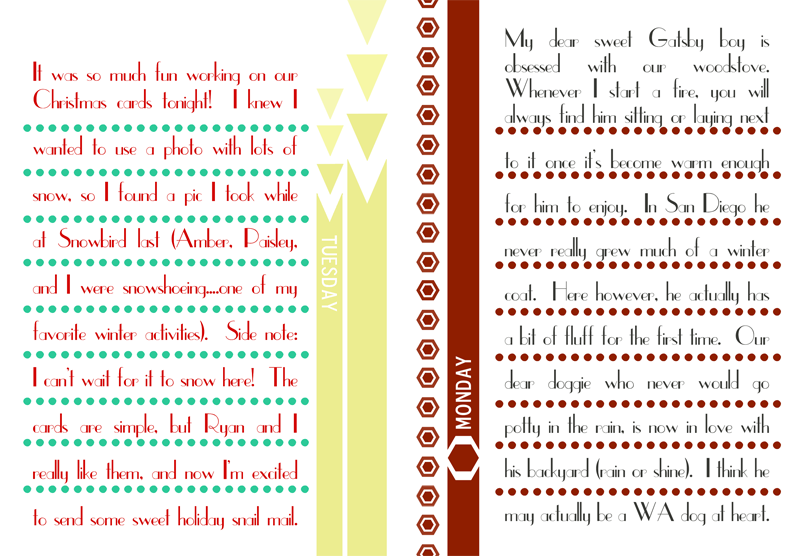
You can see days 1 and 2 HERE.
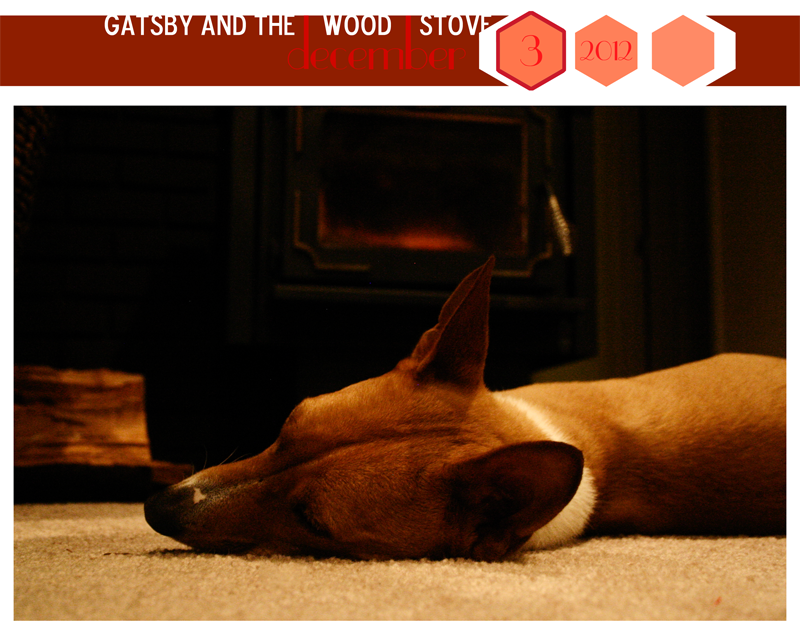
Days 3 and 4 HERE.
Days 5 and 6 HERE.
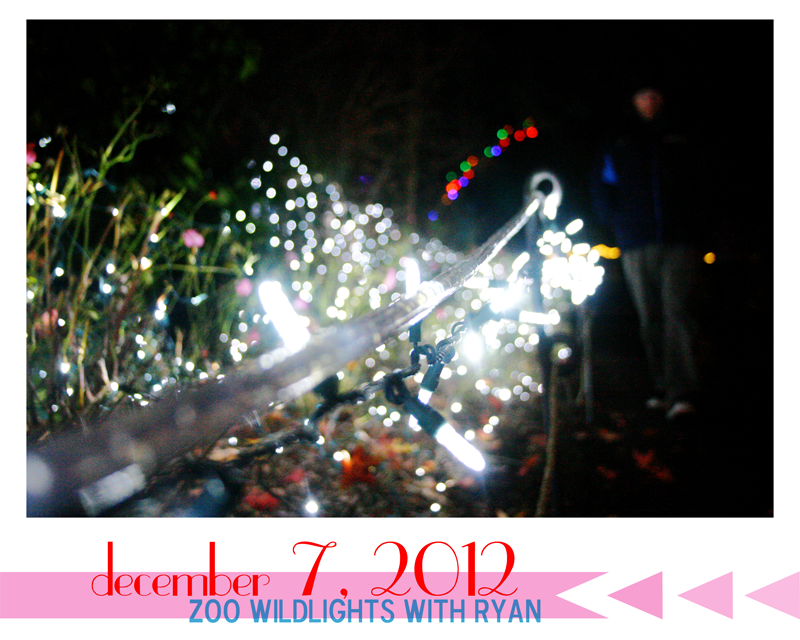
Day 7 HERE.
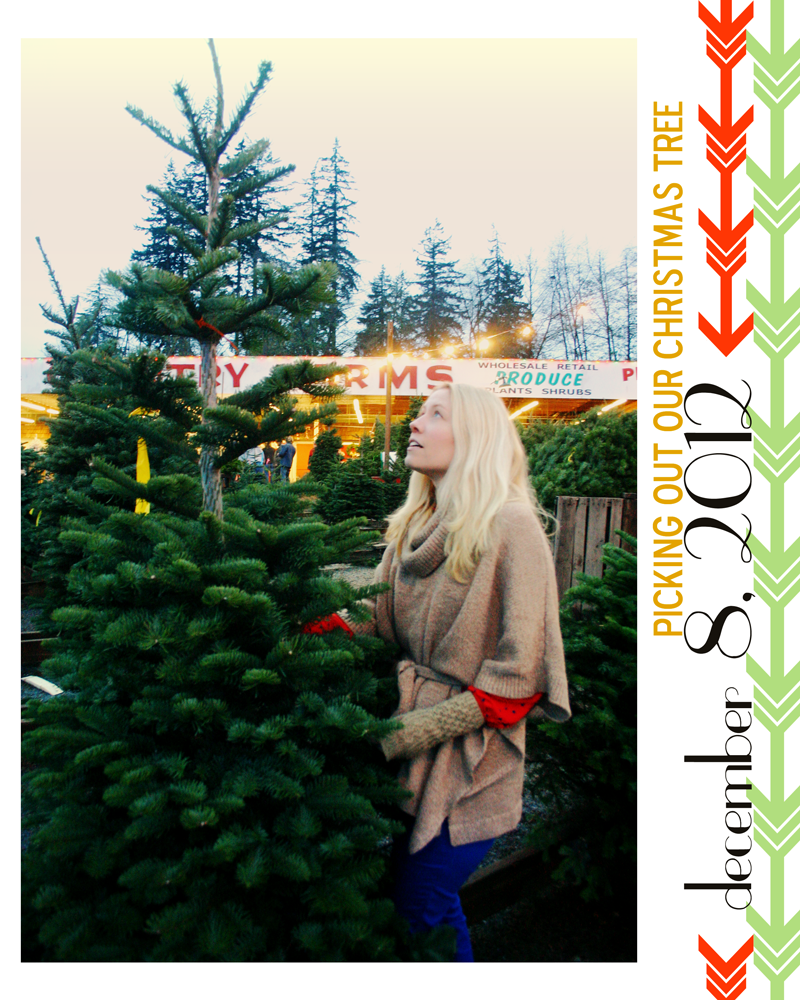
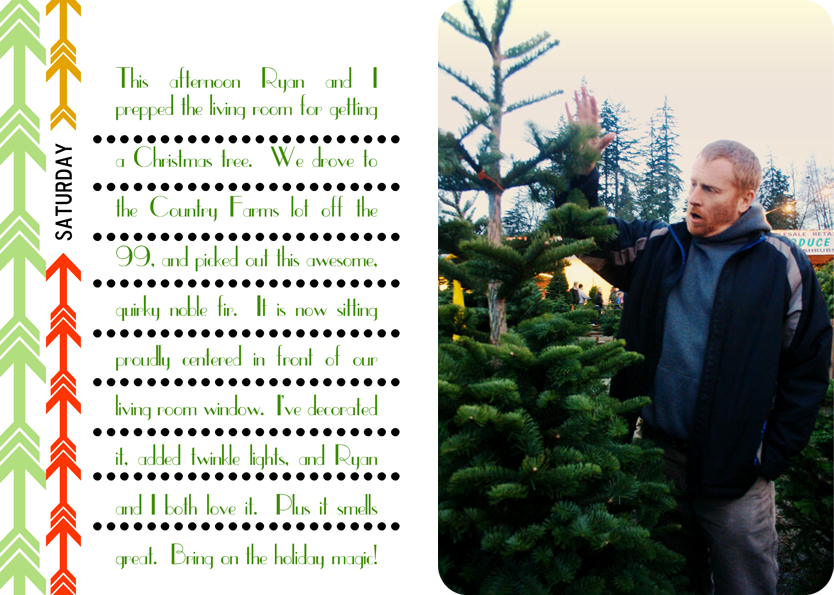
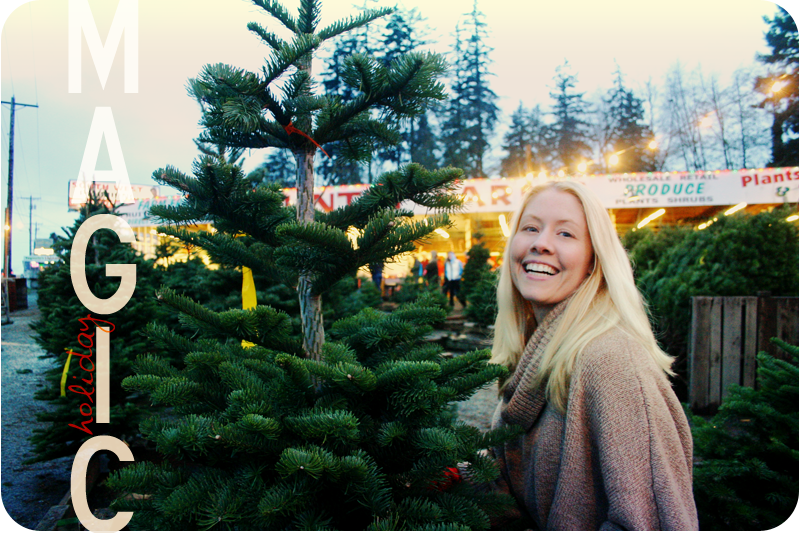
Day 8 HERE.
And days 9 and 10 HERE.
You can see days 1 and 2 HERE.
Days 3 and 4 HERE.
Days 5 and 6 HERE.
Day 7 HERE.
Day 8 HERE.
And days 9 and 10 HERE.