On March 5th sweet Nely and I decided to play along with Ali Edwards Day In The Life. She was visiting me from San Diego and together we cooked up a grand scheme of DITL photo taking on Saturday and scrapbooking said photos all day Sunday. It was AMAZING. PERFECT. Everything we wanted it to be and more. Here are most of the photos we got around to editing that Saturday night. Of course there are still a few missing that need editing, but for the most part here's a peek at our day. Thanks for looking, and I'll be back next week with the DITL mini book we completed. Smiles!
Thursday, March 31, 2016
Wednesday, June 24, 2015
{guest post w/ videos} for american crafts | summer week
Hello Everybody! Today I have an extra special summer themed guest post up over on the American Crafts blog : ) There are FIVE projects total, THREE of which I have process videos for on my YouTube channel. I also have a BONUS Project Shares Overview Video of all five projects up as well. I hope you enjoy!!! Happy summertime to you! XO
P.S. Below is a sneak of the cover of one of my four videos that go along with these projects ; )
Thursday, May 14, 2015
{day in the life} 2015 | round 1
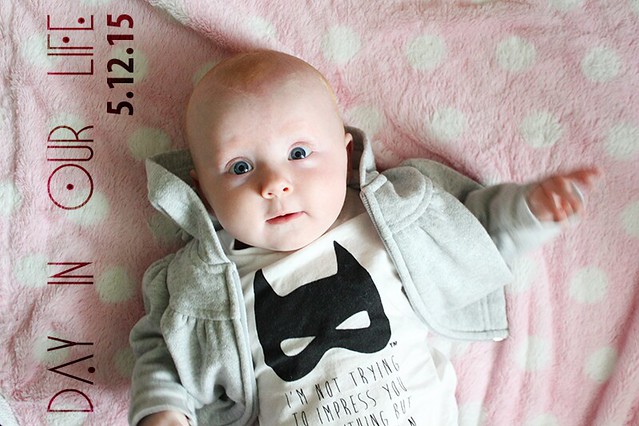
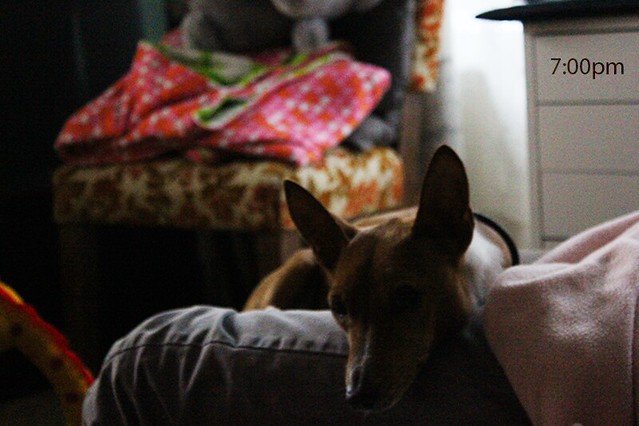
Hello blog world, I've missed you! I've been away enjoying time with our new little girl, and it is wonderful!! Today I have what few photos I took from playing along with Ali Edwards' Day In The Life. It was a slow start with the photo taking, and I didn't take as many as I'd like, but we're learning to go with the flow these days. Hopefully, I'll be doing a day in the life once a month to help document my daughters first year. I'm not sharing too much journaling here for privacy reasons, but did jot down our entire day in notes for when I decide to print these and do something fun with them. Actually, they'll probably just go in my Project Life album. If anyone else decided to play along, please leave a link in the comments....I'd love to see!
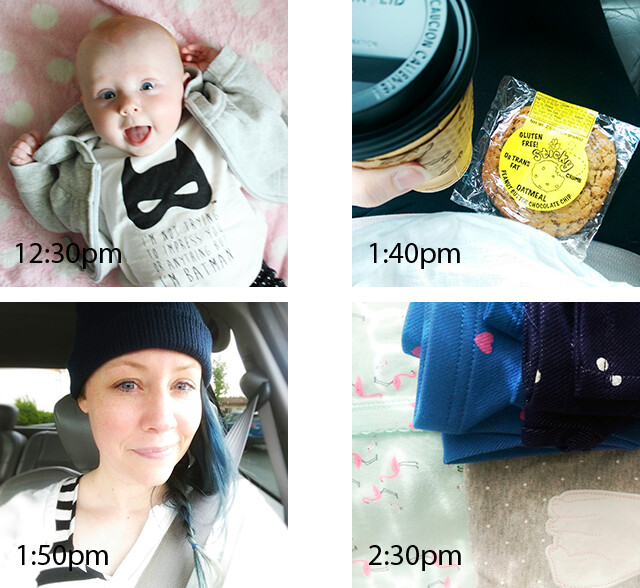
- 12:30pm | One last diaper change and her first time wearing her Batman tee before leaving the house
- 1:40pm | Vanilla chai and my favorite gluten free cookie for a snack after my eyelash tint appointment
- 1:50pm | Rainy day errands
- 2:00pm | Grocery store
- 2:30pm | Some footie pajamas and leggings found at the store for my Little
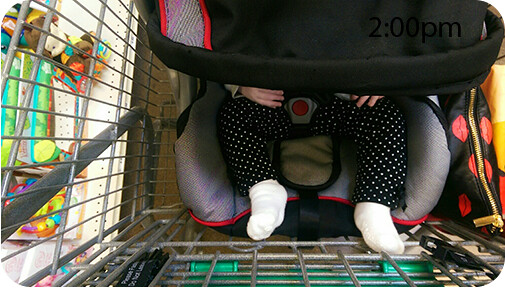
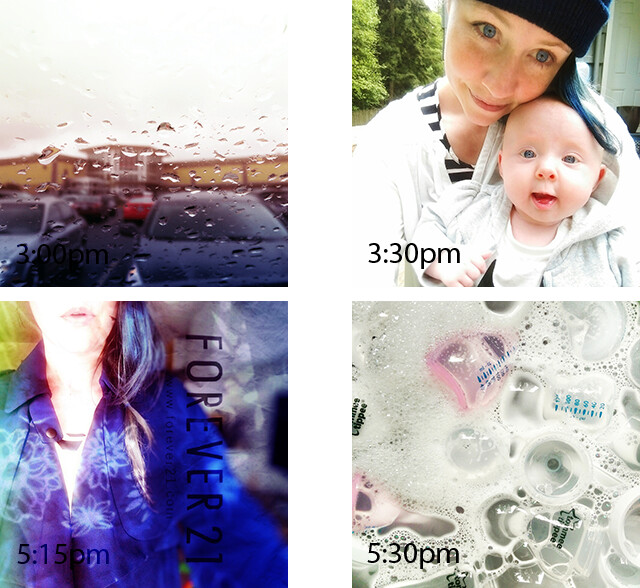
- 3:00pm | Arrived back at the car to raindrops
- 3:30pm | Back home for a quick selfie with my Honey
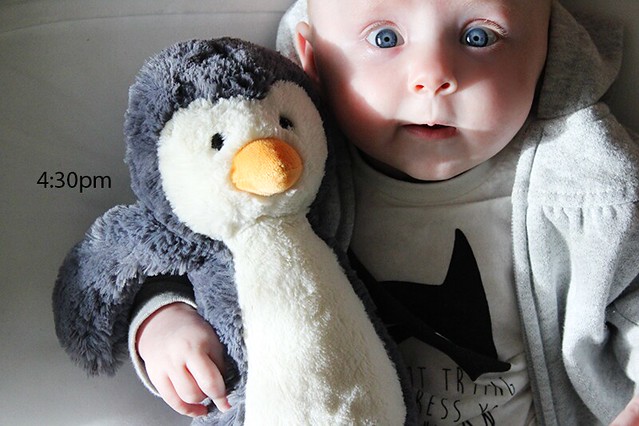
- 4:30pm | Penguin Snuggles while she watches a few minutes of Rio 2 (the singing is her favorite part)
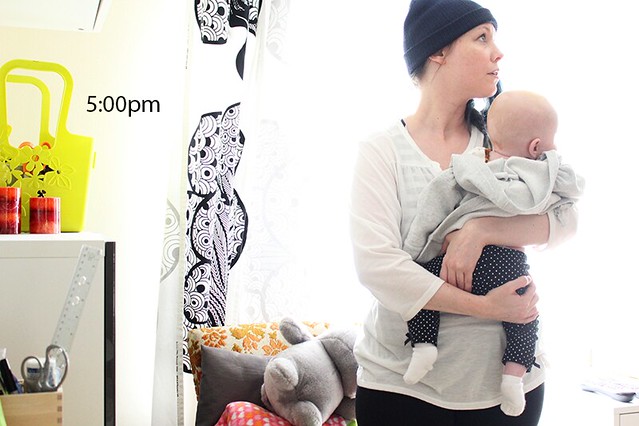
- 5:00pm | Mama and baby time
- 5:15pm | UPS dropped off the blue trench coat I ordered
- 5:30pm | Bottles and bubbles
Thanks for taking a peek at our day! See ya soon!! XO
Thursday, January 8, 2015
{craft process} glitter canvas bags
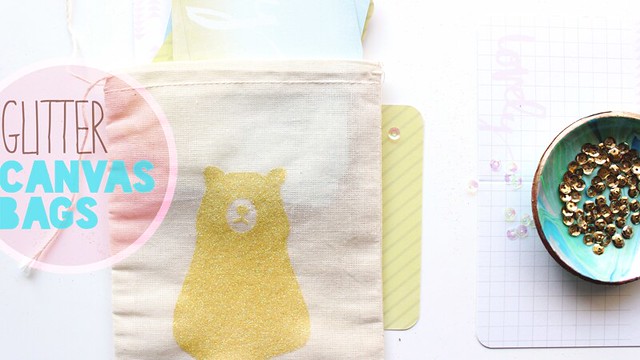
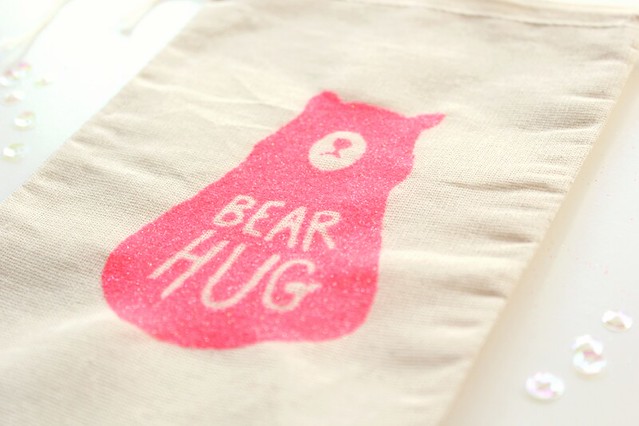
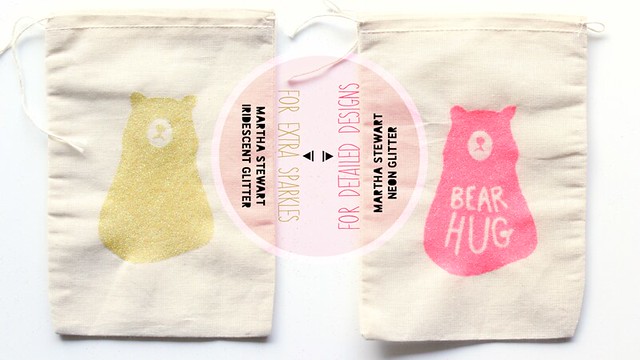
The other day the lovely Serena Bee received a little package I had mail her, sharing the goodies in a YouTube video on her channel. One of the items was a muslin / canvas bag that I had customized with a purple glitter bear. She mentioned in her video that she thought I had either made it or wondered where I had bought it, so I thought a fun, easy tutorial was in order. Below is a process video with a simple "how to" for these cuties:
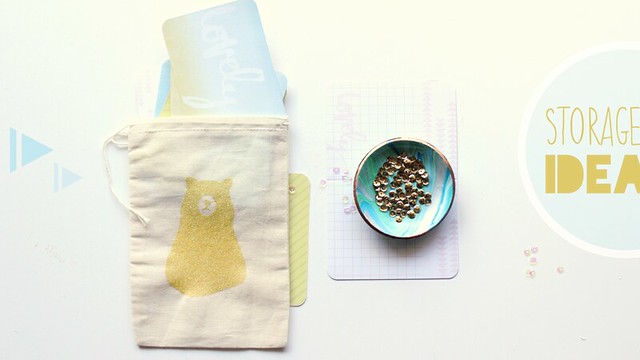
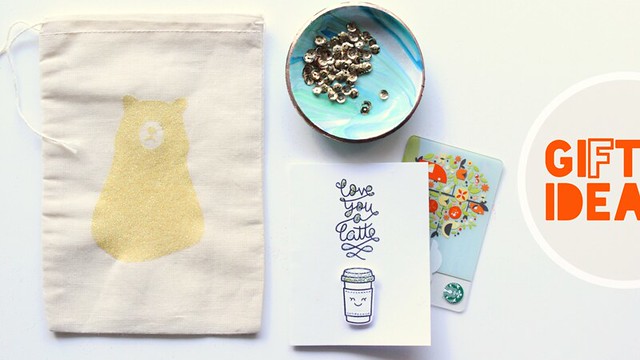
This project is perfect for gift giving, holding a minibook, or pretty scrapbook supply storage!! I use them to help organize some of my Project Life 4x6 and 3x4 cards.
Some things to note:
- If you use the same products I recommend in the video (or listed below) the glitter barely comes off (if at all) so sealing it is not necessary. You could however, use a thin layer of sealer over the top of the glitter if you prefer. I would recommend either a sealing spray or a thin layer for the fabric modge podge.
- When applying the fabric modge podge make sure to use a foam brush and "pat" it into all the creases of your fabric for a good coat otherwise you will not get ideal coverage.
- Don't forget you'll need to use FREEZER PAPER, not parchment or wax paper so one side is plastic or wax coated and the other is not.
- Make sure the plastic / wax side of the freezer paper is facing down when you go to iron otherwise it will stick to your iron instead of the fabric.
- Don't forget to cut a small piece of freezer paper to place inside your bag BEFORE adding the fabric modge podge so your bag doesn't dry stuck together on the inside.
- You can use this technique with any design cut from your die cutting machine. Hand cutting or using an exacto knife also works!
- The size I use in these photos and my example is 5x7 inches on Amazon (linked below), however the actual size measures just in-between 4x6 and 5x7 inches.
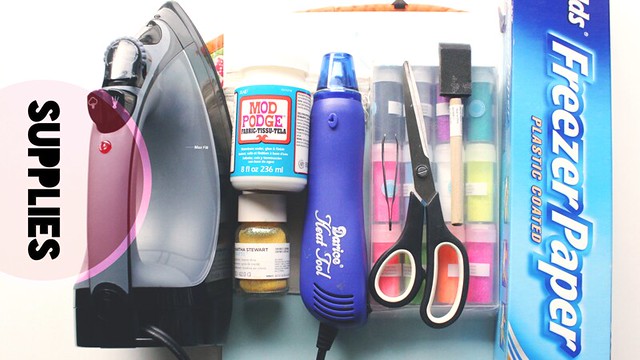
Products I used:
- The bear design is a digi from Studio Calico's Underground realease, and you can see all their CURRENT digital elements available HERE. In the products listed blow I have a picture/link of one of their digis from January 2015 in place of the bear since it is no longer available.
- The marbled clay dish I made was from using this DIY on A Beautiful Mess.
Subscribe to:
Posts (Atom)