


Hello Lovelies! Happy first day of your new week!!!
Today Nely and I are super excited to share with you our ideas on how to use your photo(s) from our last photo prompt! So, let's get to it!!!
For my first project, i decided to create some sweet little tags with pockets.....
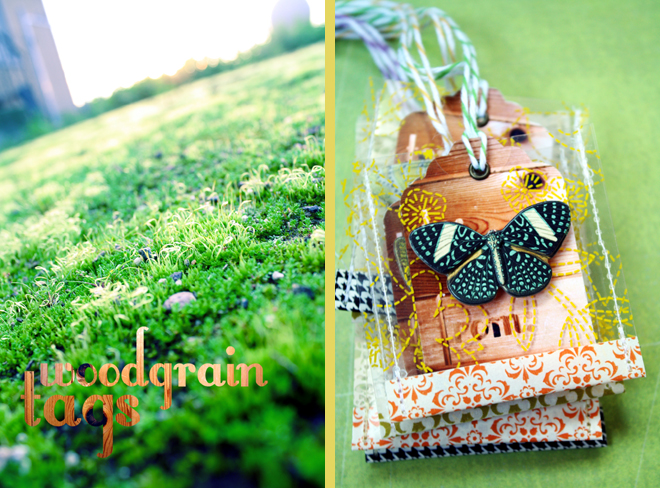
As you can see in the collage above, I used my photo prompt photos in three different ways. For example one, the image on the left is my mossy background photo used as a background image for the woodgrain text. For example two, I created the woodgrain text using my woodgrain photo. The third example is the photo on the right with my actual tag punched out of (again) my woodgrain image. Apparently I am loveing woodgrain right now! LOL!!!
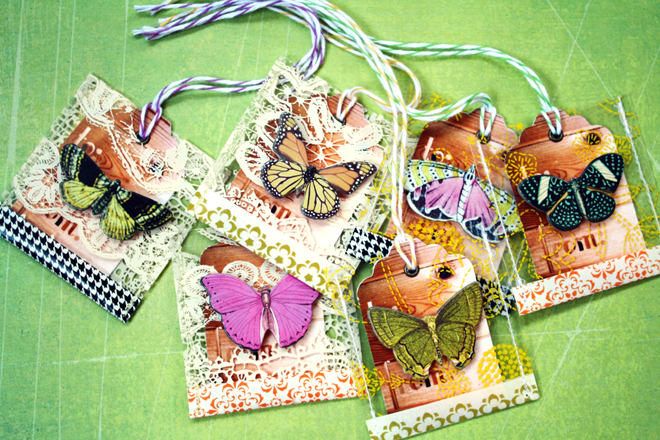
Above are the six different tag designs I created to make a fun little set. And below you can see the front of the tag with the to and from (again using text I created from my woodgrain image), and the back of the tag with plain scrapbook paper for writing a little note : )
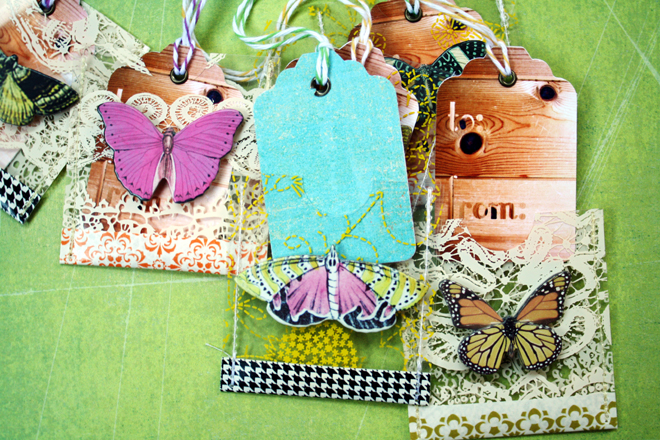
Below are all the pieces I used to put my tags together. Color Me Miki is our Project Monday sponsor for this month, so you can get the colorful bakers twine (in almost every color), Hambly overlays, and pretty tapes from this lovely shop.....

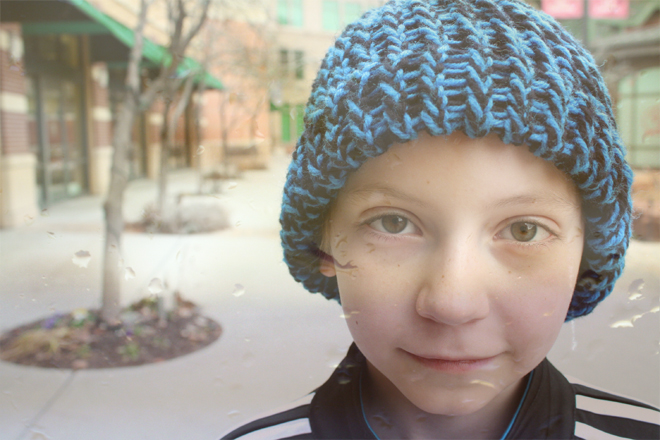
OK. Now for some fun stuff I did in photoshop with my photo prompt photos! I used the same photo of my nephew for all three photos so you can see the difference with each layer. First, my nephew peeking through a thick window with raindrops.....
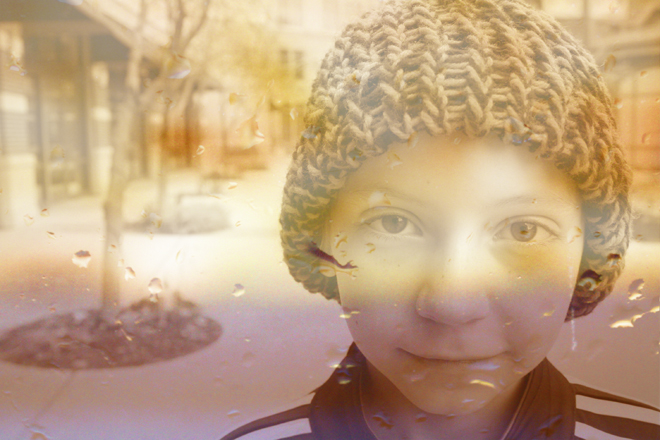
I love the photo above because to me it looks vintage in a very cool way. To create this effect, I used a photo I took of my nephew at an outdoor mall and then layered my raindrop image over it.....now it looks like he is peeking at you through a window.
The photo below is the same thing, but with natural lighting and the raindrop layer is not as opaque.....
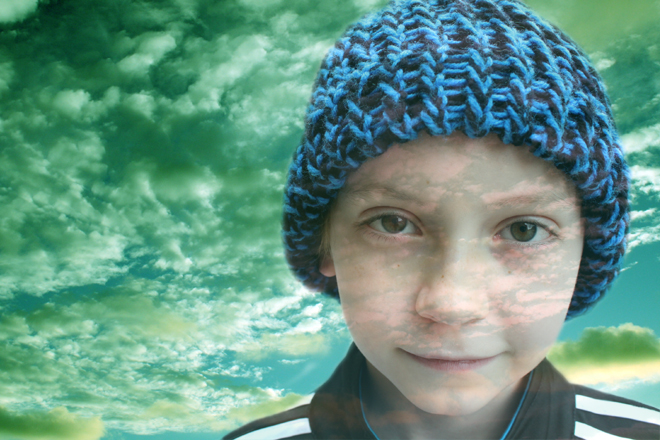
And for my final example I layered my nephew over my cloud image. I could have layered him over the clouds completely opaque, but I kinda like that you can see the clouds through him.....
Well, that's it for my ideas on how to use your photos. I had a lot of fun with this one, using your own background images in your projects feels great!!! If you have any specific questions about my projects or photoshop stuff, I am happy to share so just leave a comment, and I'll answer it by adding to this post.
Also, I wanted to mention that if you follow me on Twitter, I tweet every time I publish a post. So, you'll know when a Bubblegum Life post goes up : )
Have fun with your photos this week!!!
~~~~~~~~~~~~~~~~~~~~~~~~~~~~~~~~~~~~~~~~~~~~~~~~~
And now for Nely's awesome project.....

Happy Monday! Wanted to share with you the project I created with one of the photos I took for my Appointment with Friday! I decided to use my palm tree background. I printed the image on 81/2 x 11 paper, and then created a layout on top of it. Used some green patterned paper, some fab rips from studio calico and red prima flowers. The little tot is my niece. I took this picture last year during a trip to the local pumpkin patch. I felt this picture went well with the palm tree background. It was pretty fun using a picture as background! Can't wait to see your projects!!
Love, Carrie & Nely
Great post, I really love the layered cloud photo! :)
ReplyDelete