


Since National Scrapbook Day is this weekend I thought I'd share a brand new layout. My layout was totally inspired by THIS (It's the Hello Spring layout, which is so lovely).
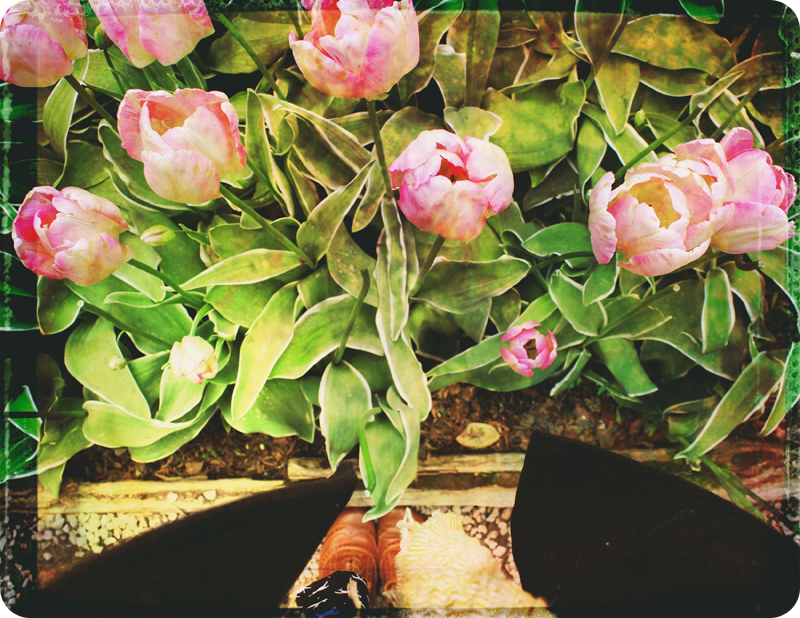
I started by printing a an 8 1/2 x 11 photo with my printer at home. Ryan just bought be a new one and I was excited to try it out. I wanted the quality to be similar to the scrapbook paper I was planning to use, so I printed my photo onto the backside of a single sided sheet of older Basic Grey. The print can out almost identical to the digital version, and was exactly what I wanted.
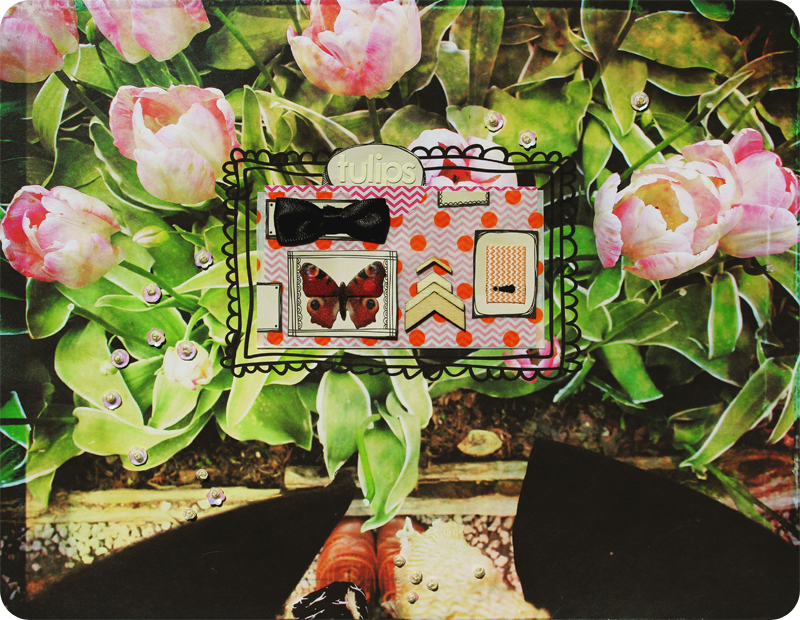
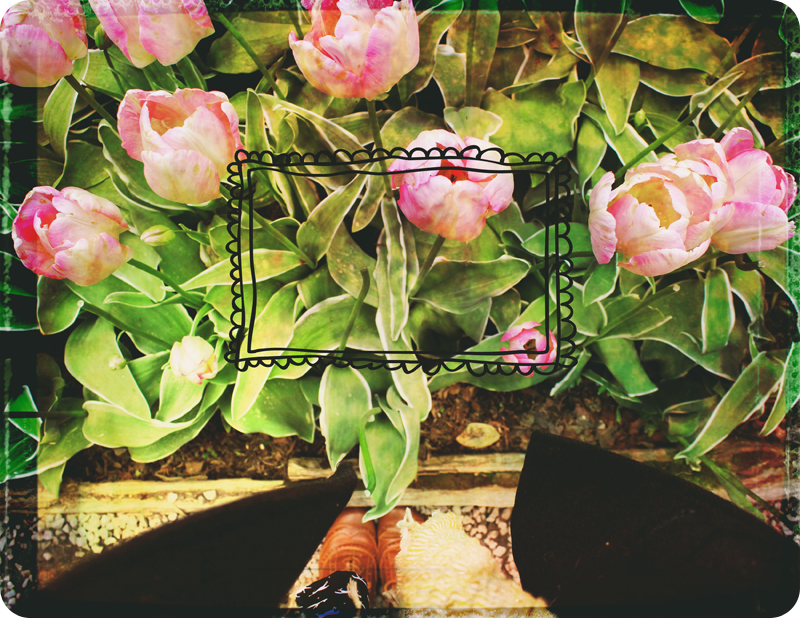
Next, I decided to add a frame to the center of my photo. I didn't have a large enough stamp so I found a digital frame from HERE, aligned it in the correct position using Photoshop and then printed it directly onto my photo which worked great (just make sure you know which way your printer prints before feeding the paper through).
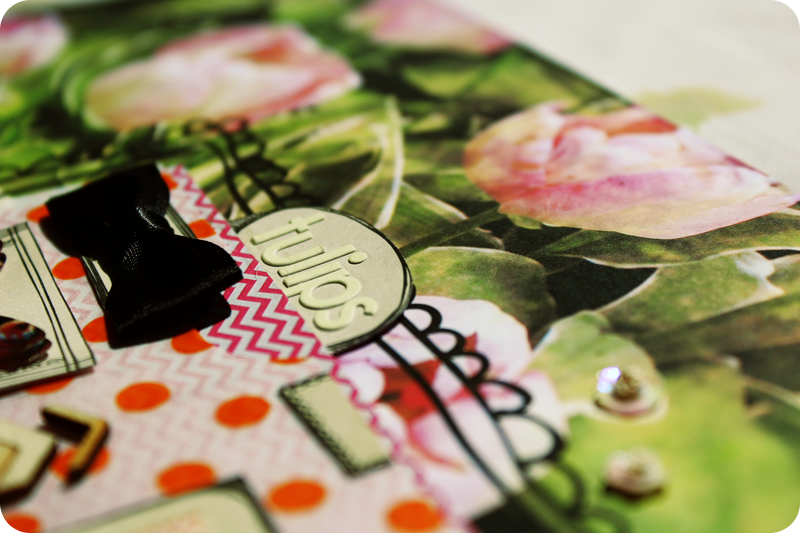
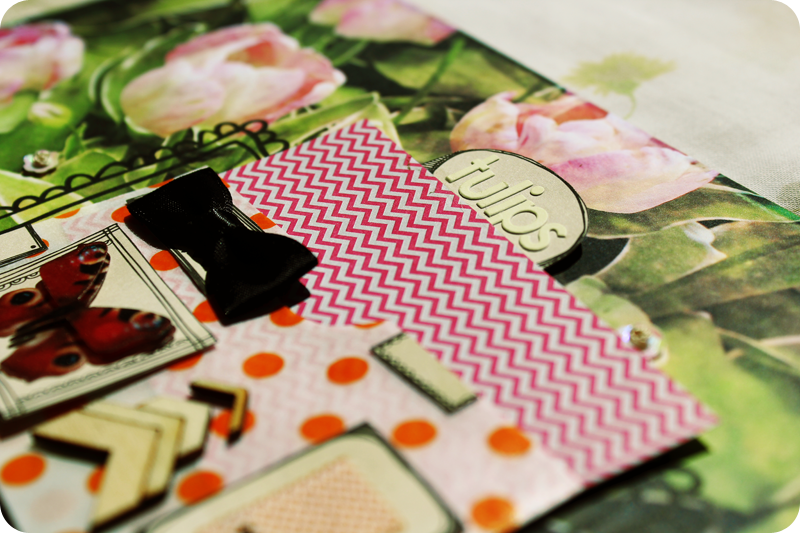
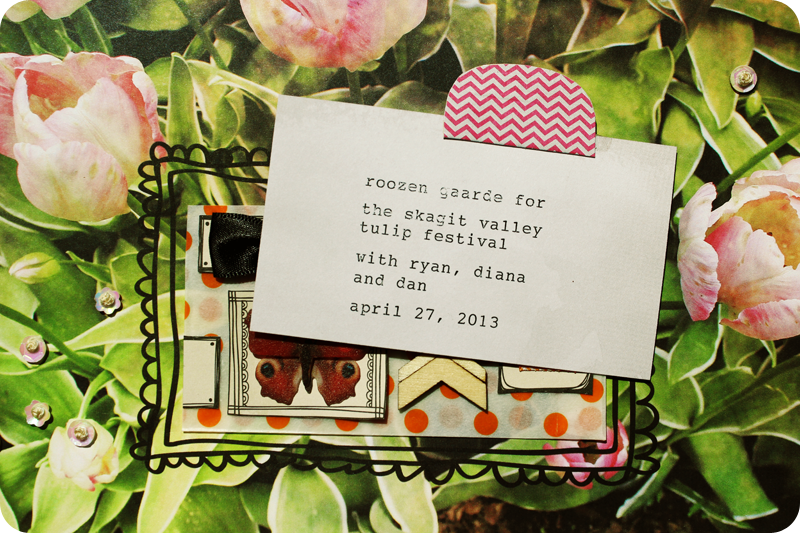
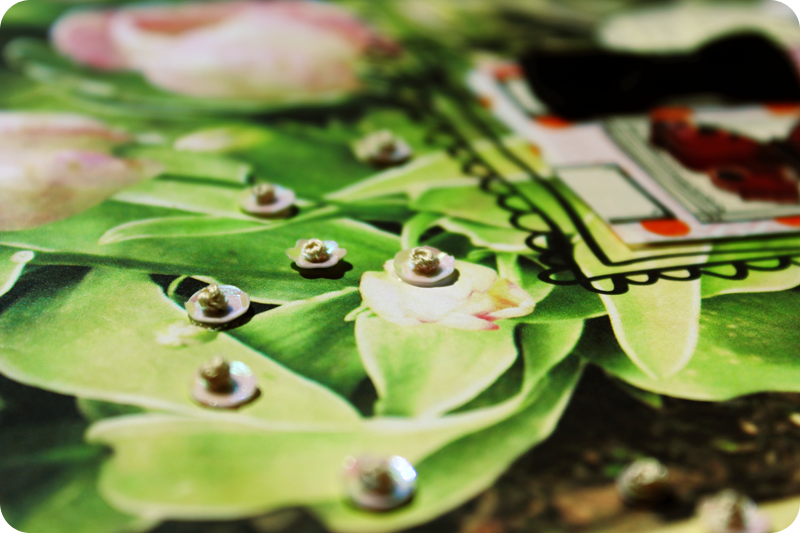
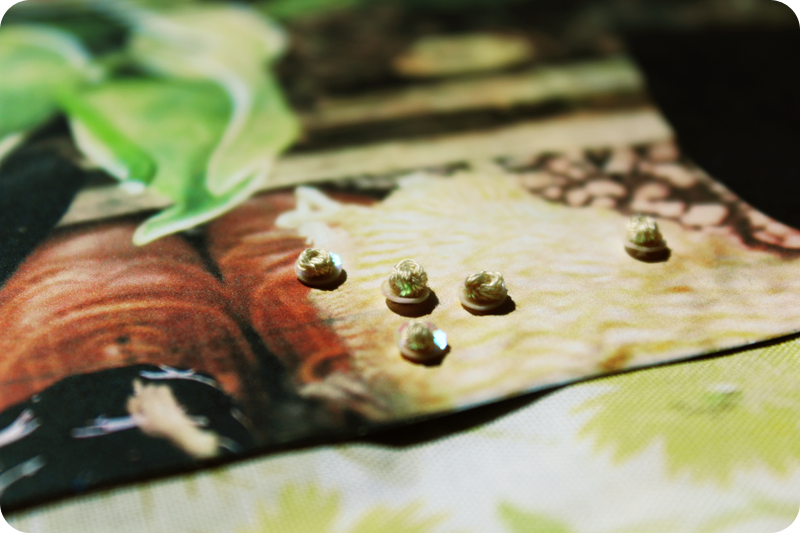
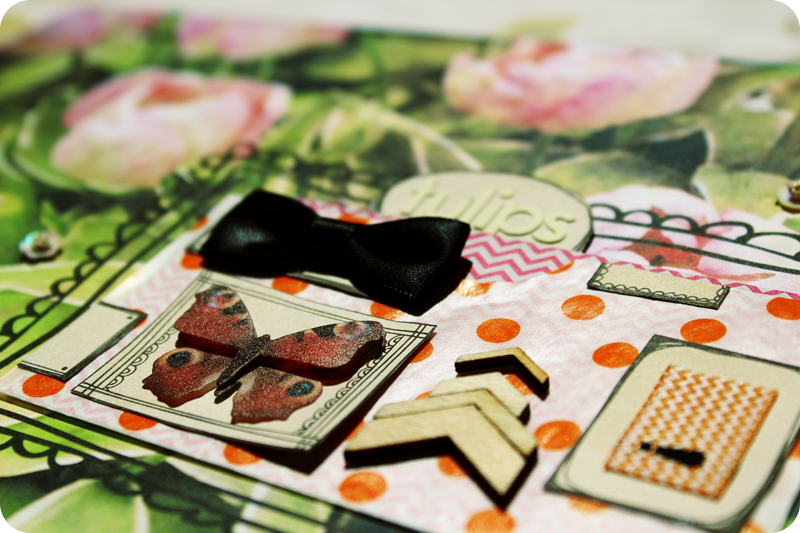
Originally I wanted to make this post a full step by step, but forgot to take pics once I started putting the rest of the layout together. Here are some of the detail shots of the finished product. There is an insert with journaling that goes inside a vellum pocket.
And I even learned how to tie a French knot using THIS tutorial on YouTube. Have a great weekend! Happy scrapping!! XO
Its so clever how the photo is on the outside and the design elements are on the inside. Super cute layout!
ReplyDelete-Jenn
Love all that great texture you added, very cool!
ReplyDeleteThis is so cool. I love how it's sort of opposite. The photo you used is fabulous too! Thanks for sharing :)
ReplyDelete