


 I don't know about you, but I'm determined to complete my holiday DIY gifts early enough this year so that I can really enjoy the month of December. To help, I've decided to start a series of posts geared towards sharing some of the DIY gifts I'll be making this year.
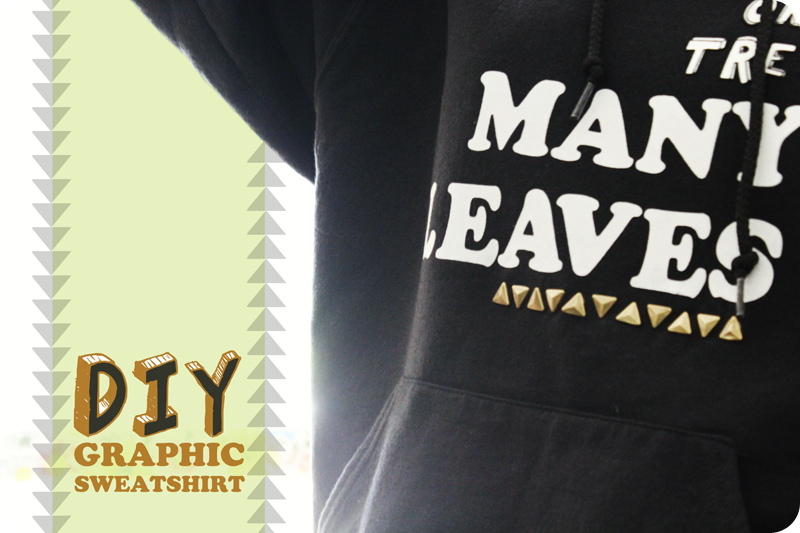
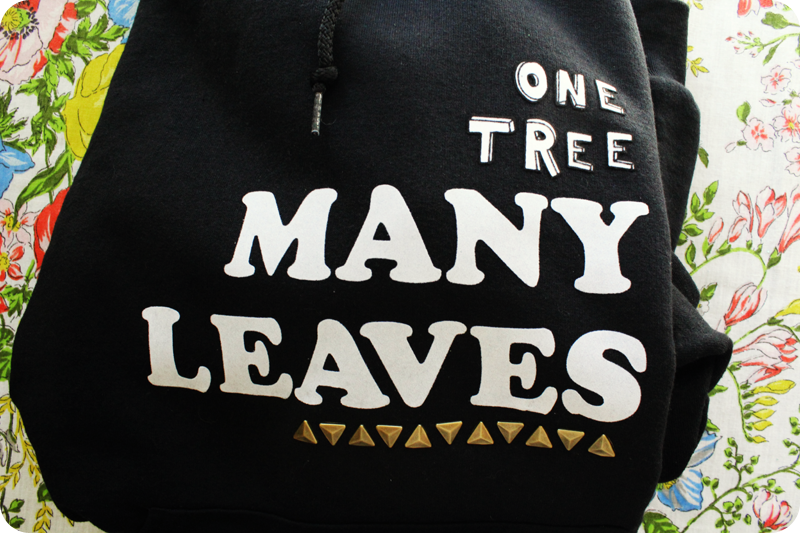
If you follow me on Instagram, you may remember seeing the original graphic sweatshirts my little sister and I made on Labor Day. Today I'm sharing photos and a process video for a new graphic sweatshirt made for another one of my siblings.
Here's the video:
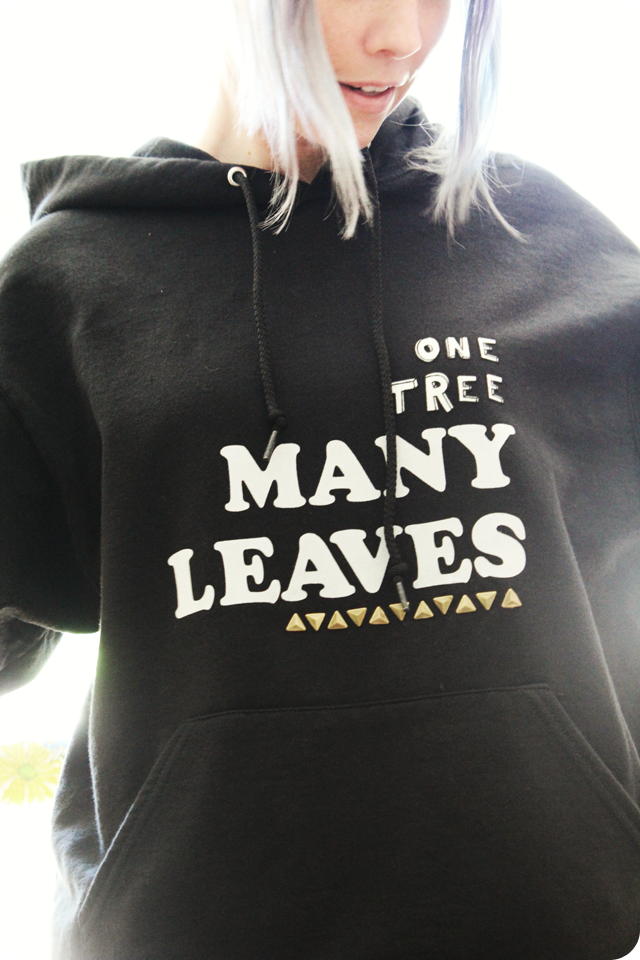
And here's a shot of me wearing the new sweatshirt.....
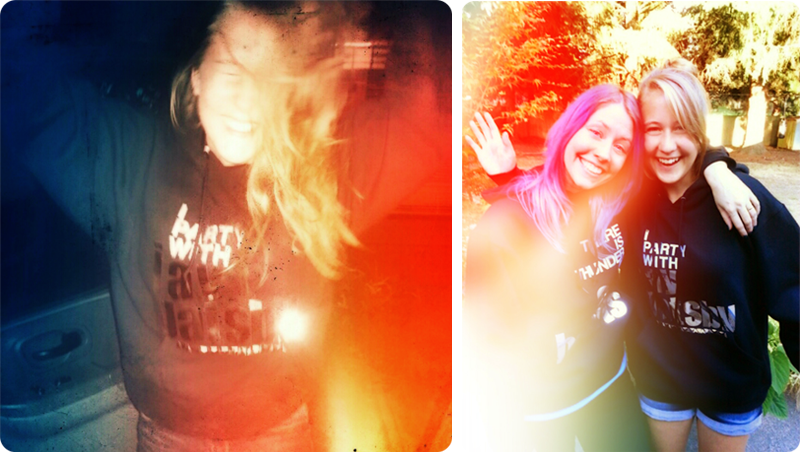
Below is a shot taken with my phone of my little sister and I with the sweatshirts we made together. The whole thing was her idea so she could make a custom "I Party With Jay Gatsby" sweatshirt.....and we both LOVE how it turned out!

Here's a couple tips (in addition to the video) for putting your sweatshirt together:
- Some of the iron-on letters available are pre-cut as you take the sheet apart to spell your saying. Whether they are pre cut or not, it's important to have the borders of each letter cut as close to the iron-on as possible so that you can customize the spacing for each letter and word.
- The directions for each type of iron-on will be in the packaging.
- Make sure to pre-wash your sweatshirt on cold, without using fabric softer or a fabric softener sheet in the dryer.
- When it is time for you to wash your sweatshirt again, turn inside out and wash on delicate in cold water. Hang dry if possible, otherwise use the low dryer setting.
- Using pliers with the studs is a real time saver. But, if you press too hard you'll flatten the stud. The idea is to push the prongs inside the negative space.
- I recommend using the highest setting on your iron for thick sweatshirt fabric.
- The brand of the iron-on letters used on both sweatshirts is Dritz.
- In this video I used Soft Flock 1 1/2" letters in Cooper (item #CO150LWT), and a Soft Flock with no name or size, but an item #15360 for the handwritten looking font.
- For the sweatshirts my sister and I made we used, Metallic (mirrored) 3" letters with no name but an item #15543, and White Embroidered letters with a Teal Border and no name or size but item #15514.
- The studs we used are STUDD*D 11mm Pointed Triangle Stud Pack in Bronze.
- Make sure to try on your sweatshirt before purchasing for the correct size. We used Adult sizes M and L.
- Everything for making both sweatshirts was purchased at Joann's, in the store.
Feel free to ask questions in the comments. Have fun!!!


I'm so inspired right now!! seriously! I alwasy thought projects like this were intimadating and then last week my sister made 10 pillow slip covers with iron stuff in one day and now you do these amazing hoodies! I love it! So i was wondering what the hoodies material is... I was thinking of getting a bunch at walmart and target to do this so I can all kinds of color and I wondered if a certain cloth is better like cotton etc? I cannot wait to try this! xmas gifts here I come and thanks for these awesome videos carrie!!! made my day!
ReplyDeleteThanks, Val! For the sweatshirt material the only key is to make sure it's NOT 100% synthetic. The fabric I've been using is a cotton/poly blend which makes them super soft ♥
DeleteThey're so cute!
ReplyDelete