


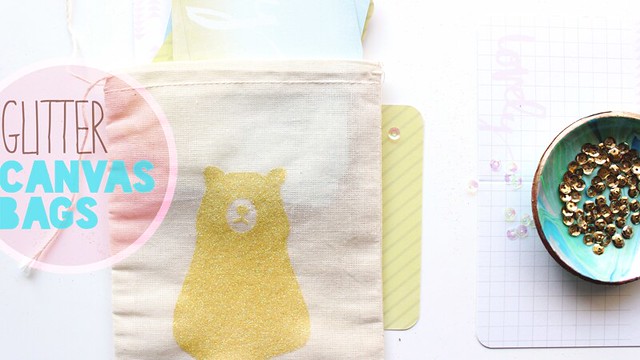
The other day the lovely Serena Bee received a little package I had mail her, sharing the goodies in a YouTube video on her channel. One of the items was a muslin / canvas bag that I had customized with a purple glitter bear. She mentioned in her video that she thought I had either made it or wondered where I had bought it, so I thought a fun, easy tutorial was in order. Below is a process video with a simple "how to" for these cuties:

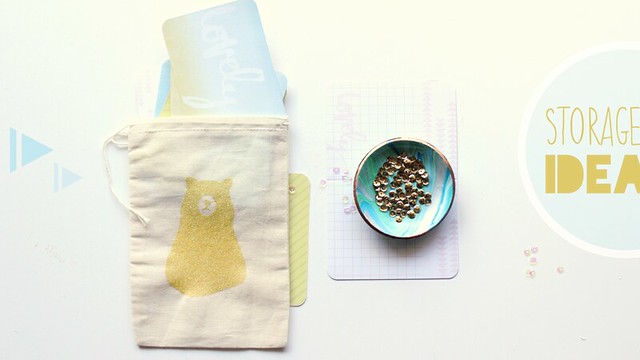
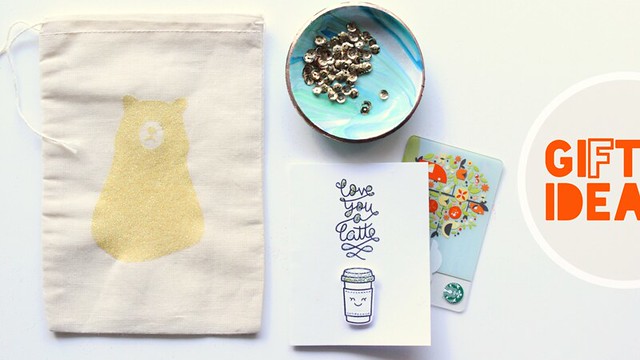
This project is perfect for gift giving, holding a minibook, or pretty scrapbook supply storage!! I use them to help organize some of my Project Life 4x6 and 3x4 cards.
Some things to note:
- If you use the same products I recommend in the video (or listed below) the glitter barely comes off (if at all) so sealing it is not necessary. You could however, use a thin layer of sealer over the top of the glitter if you prefer. I would recommend either a sealing spray or a thin layer for the fabric modge podge.
- When applying the fabric modge podge make sure to use a foam brush and "pat" it into all the creases of your fabric for a good coat otherwise you will not get ideal coverage.
- Don't forget you'll need to use FREEZER PAPER, not parchment or wax paper so one side is plastic or wax coated and the other is not.
- Make sure the plastic / wax side of the freezer paper is facing down when you go to iron otherwise it will stick to your iron instead of the fabric.
- Don't forget to cut a small piece of freezer paper to place inside your bag BEFORE adding the fabric modge podge so your bag doesn't dry stuck together on the inside.
- You can use this technique with any design cut from your die cutting machine. Hand cutting or using an exacto knife also works!
- The size I use in these photos and my example is 5x7 inches on Amazon (linked below), however the actual size measures just in-between 4x6 and 5x7 inches.

Products I used:
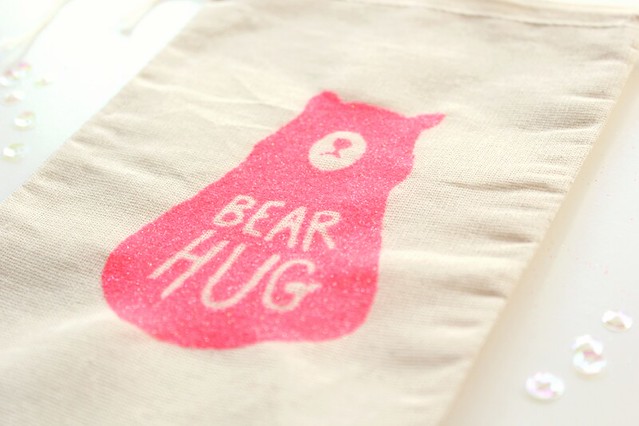
- The bear design is a digi from Studio Calico's Underground realease, and you can see all their CURRENT digital elements available HERE. In the products listed blow I have a picture/link of one of their digis from January 2015 in place of the bear since it is no longer available.
- The marbled clay dish I made was from using this DIY on A Beautiful Mess.


This is an amazing tutorial!
ReplyDeleteThank you so much for making it and sharing. I look forward to hopefully trying this soon.
And, I imagine you brought many smiles to many faces with your creative gift giving.
Thank you so much Sarah! I'd love to see yours when you decide to make some!! Funnnnnn
DeleteWhat an adorable tutorial - love it! Saving it for the future. :)
ReplyDelete<3 Kelsea | Kels Shark
These definitely come in handy.....so happy you like : )
Deletethey were the cutest gifts ever!!
ReplyDeleteAwe, thanks Val!
Delete