Thursday, December 6, 2012

{diy} our christmas card

{our diy christmas cards}
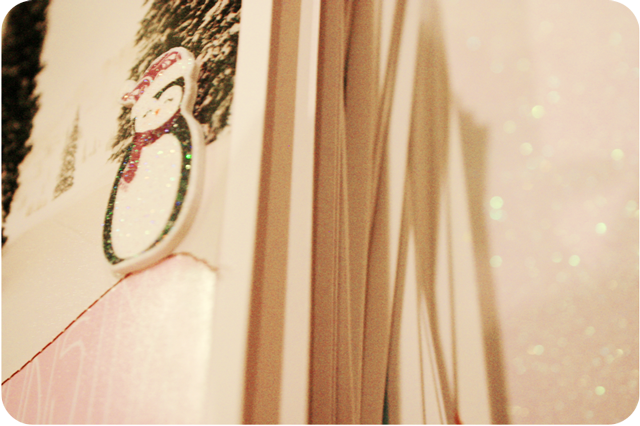
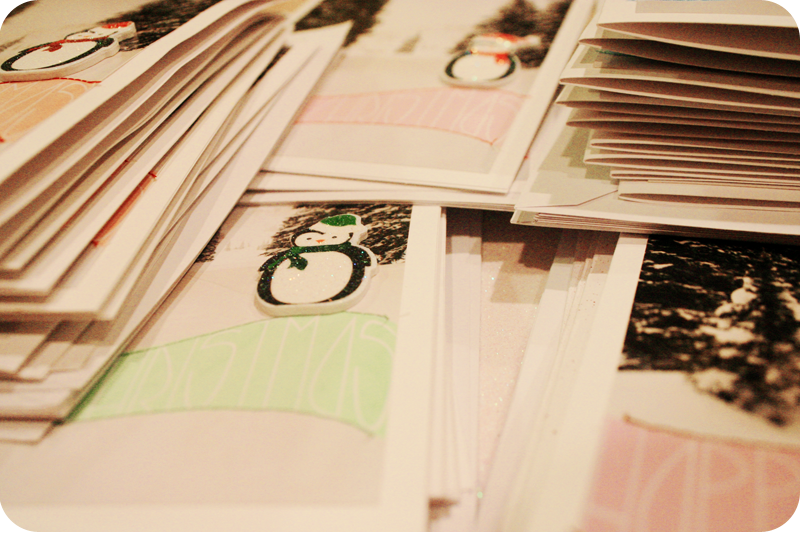
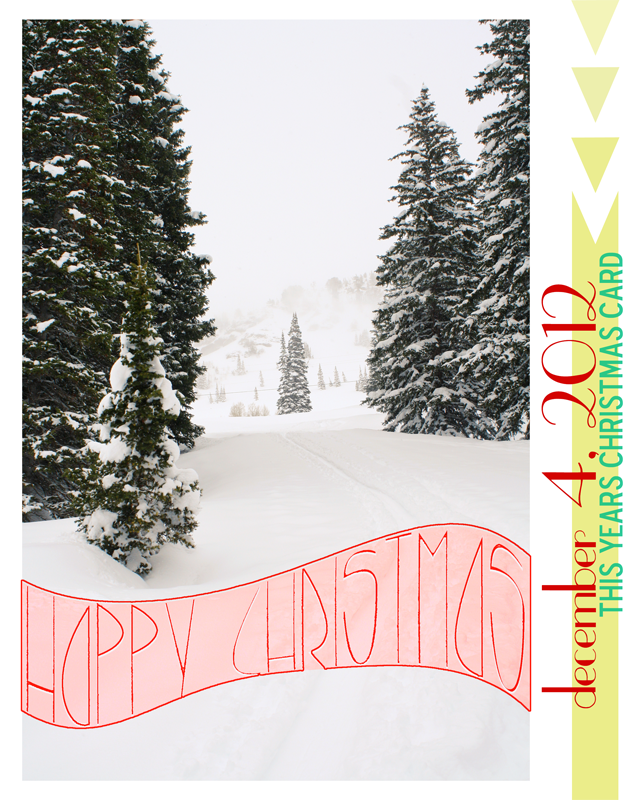
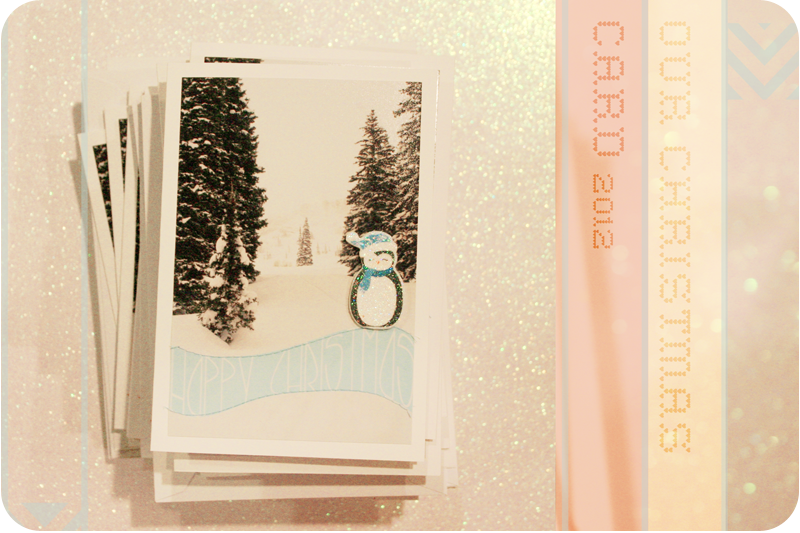
As promised here are our Christmas cards for this year with a very simple DIY on how I put them together. I knew I wanted something with snow so I chose a photo I took while snowshoeing in Snowbird, Utah last. Then I found some cute little penguin embellishments at the craft store (Michael's), added a little sewing and used blank note cards to bring it all together. Simple and cute.
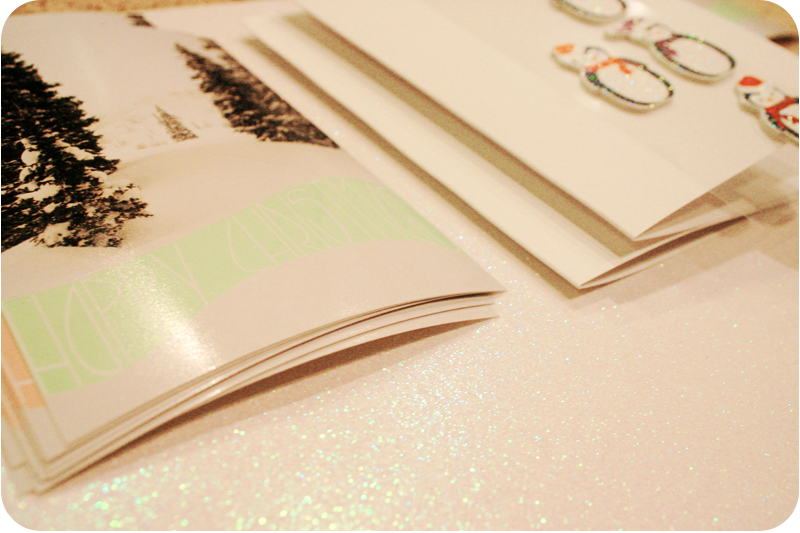
{our diy christmas cards} supplies
Supplies:
  • Photo (I had 4x6" photos printed at Costco with the wording "Happy Christmas" in different colors to match my embellishments.  I added in the wording using Photoshop.)
  • Blank Note Cards (I already had these white ones, but you can get them at the craft store.  Make sure they are big enough to matte with your photo and have white showing around the edge.)
  • Embellishments (I found a package of cute penguins with different colored scarfs and hats at Michael's.)
  • Thread (Again, I chose colors to match my embellishments.)
  • Sewing Machine (This is optional because you can always embroider or hand stitch.)
  • Scissors
  • Paper Adhesive (I used a tape runner.)

As a fun little Christmas gift, you can download the "Happy Christmas" PNGs in all the different colors I used HERE.  The files are sized for laying over 4x6 inch photos, and set with a dpi of 300 for printing.  (Feel free to email me with any questions.)
{our diy christmas cards} instructions
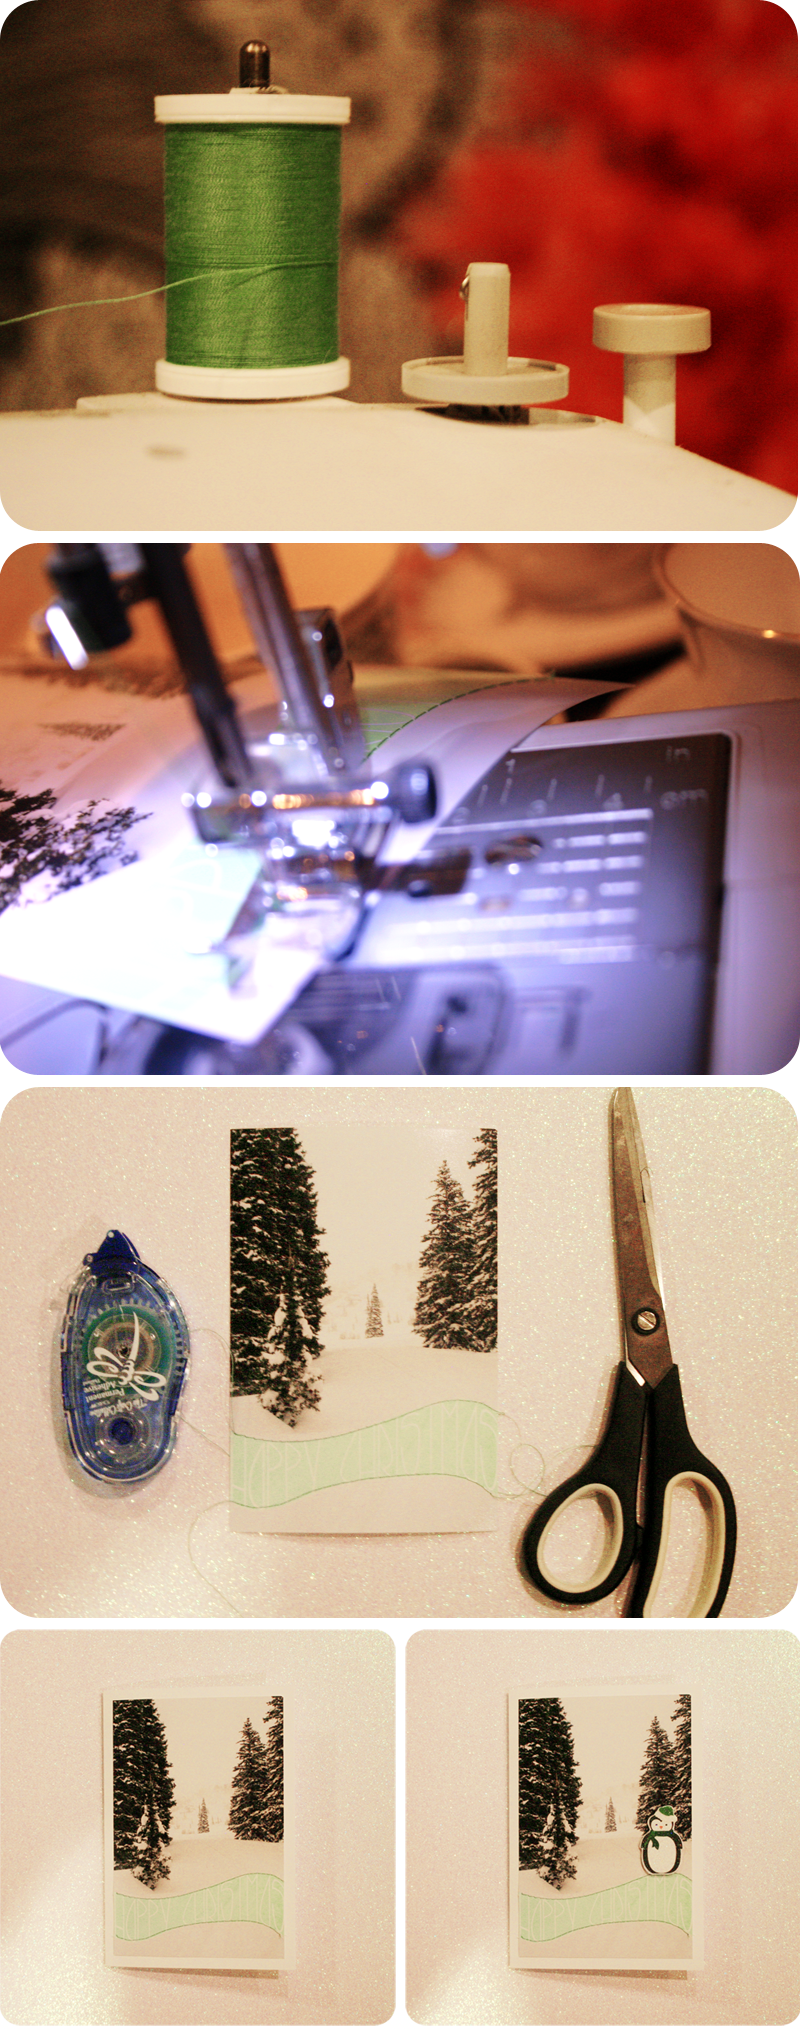
Step 1: Pick out your thread, and thread it through your sewing machine.
 
Step 2: Sew directly onto your photo.  I chose to sew around the wording I added, but you could sew around any statement part of your photo.  I really like the dimension and texture this step adds.
 
Step 3: Trim the excess thread.
 
Step 4: Using your paper adhesive, attach your photo to the blank card.
 
Step 5: Add your embellishment on top of your photo/card.  All done.  XO

{our diy christmas cards} stacked {our diy christmas cards} in different colors

Wednesday, December 5, 2012

{december daily} days 3 & 4

{december daily} day 4
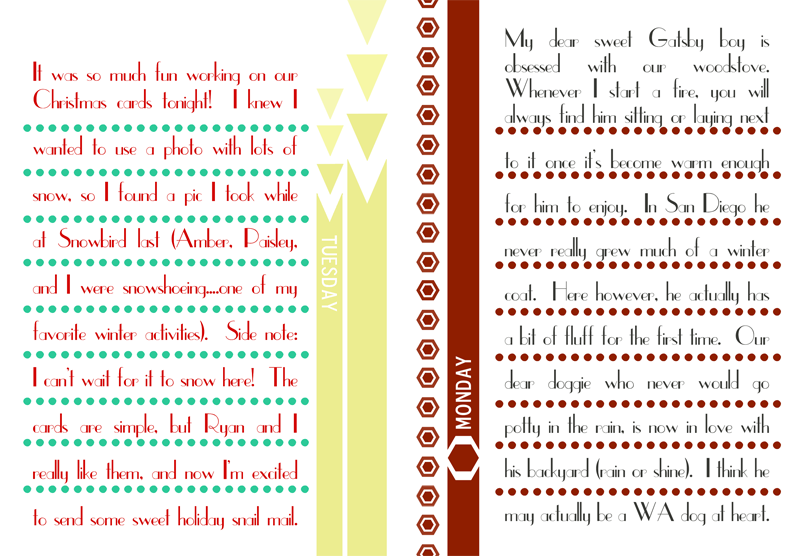
Hello to December Daily days 3 and 4! Yesterday I put together our Christmas cards and have the finished product as the image for that day.  Above is the unfinished version in digital format. If all goes as planned I'll be sharing a simple DIY on how I put our cards together this year, and you'll get to see my actual cards then.  For now here's the rest of my digital images.  Just below are phone pics from Ryan and my awesome lunch yesterday at our favorite philly cheese steak restaurant called Pilly Ya Belly.  I forgot to add journaling about it on my journal card, so I think I'll add a little note to the back of one of the printed photos instead.....and now I'm hungry again.  Midnight snack here I come!  XO

You can see my December 1st and 2nd pages HERE.

{december daily} day 4 Instagrams {december daily} days 3 & 4 journaling {december daily} day 3

Monday, December 3, 2012

{december daily} day 1 & 2

{december daily) day 1
Today I've decided to join along with the inspiring Ali Edwards, and have my December Daily album in digital format to share with you. I am actually printing this all out and assembling it in a book, but am finding it difficult to take photos of the finished pages. So, I decided to share the digital parts now, and the handmade book a little later on. Each day has a template I designed to matte with a photo, a journaling card to match, and extra photos/inserts as I collect them. Here is my December 1st and 2nd.  Anyone else joining in this year?  XO

{december daily) day 1 & 2 journaling {december daily) day 1 & 2 instagrams {december daily) day 2

Saturday, December 1, 2012

{paper garland} with melody of from scratch

Hi! I'm Melody of From Scratch. A great big thank you to Carrie for having me!
 
I have a very special holiday DIY to share with you all today, featuring the beautiful transparencies from Carrie's shop!

These are the transparencies I used:

I printed them onto unbleached brown paper (I buy the stuff by the ream these days. It's a sturdy text weight paper with a beautiful, natural color and texture that lends so much more warmth to every project than regular printer paper.) With four sheets of paper, I made a 15 foot garland.
 
Don't forget to print double-sided!

1. Using a compass, fill up your page with circles of different sizes. Be careful to avoid drawing any circles that intersect! A note on using a compass: Often, it is much easier to get a perfect circle if you spin you paper around, instead of spinning the compass.
 
2. Grab your scissors and cut them out! To save time, you can stack two or three sheets of paper on top of each other and cut them at once.
 
3. Now this is the fun part! Have all your cut circles in a pile next to the sewing machine. Start at the very edge of your first circle, and sew straight across the center. When you get to the other edge, simply feed in your next circle and repeat until you've used them all.
 
4. Hang up your beautiful new garland!
 
These are my suggestions for wonderfully festive uses…

And my personal favorite, for holiday and every day…
 

Best, Melody
 
Thanks so much for this fun holiday project Melody!  I just love the unbleached brown paper she used to print onto.....and I can't decide which is my favorite way to use this lovely garland (maybe the Christmas tree?), they are all so perfect.  Which is your favorite?  XO Carrie
 
P.S. Happy December to you! ;D