Wednesday, October 31, 2012

{diy} card using fall photos

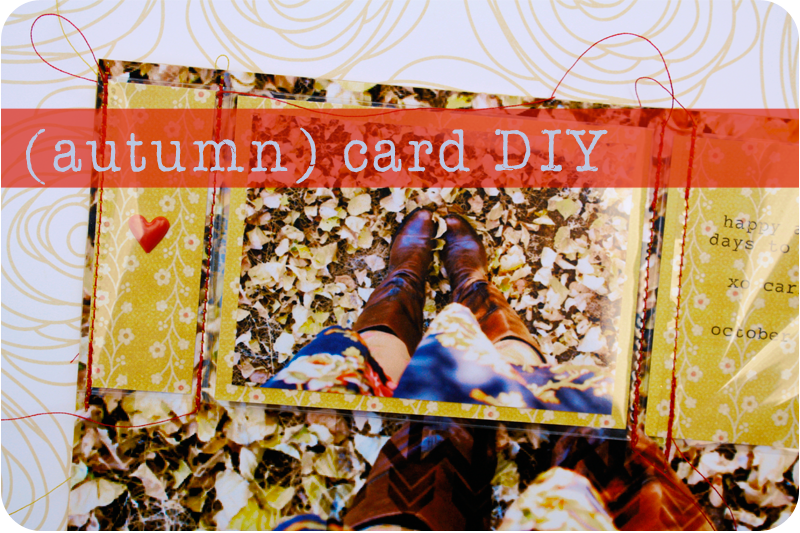
{diy} autumn card
Happy Halloween to you!  I'm sitting here at my computer, listening to the wind and the rain and enjoying this beautifully romantic day.
 
As promised, here is my tutorail for the Autumn Cards I shared yesterday.....

{autumn card} supplies
The supplies you will need:
 
  • Baseball cards size page protector
  • Large photo the size of your card (I used 5 x 7 1/2)
  • Small photo the size of your page protector pocket (I used the same photo in 2 1/2 x 3 1/2)
  • Scrap paper large enough to fit in three of your page protector pockets
  • Piece of paper large enough to cover the back of your card (I used 5 x 7 1/2)
  • Piece of chipboard the size of your card  (I used 5 x 7 1/2)
  • A small embellishment (I used puffy heart stickers)
  • Typewriter or pen to write your note
  • Sewing machine (or needle for hand sewing)
  • Thread
  • Scissors
  • Paper adhesive

{autumn card} steps
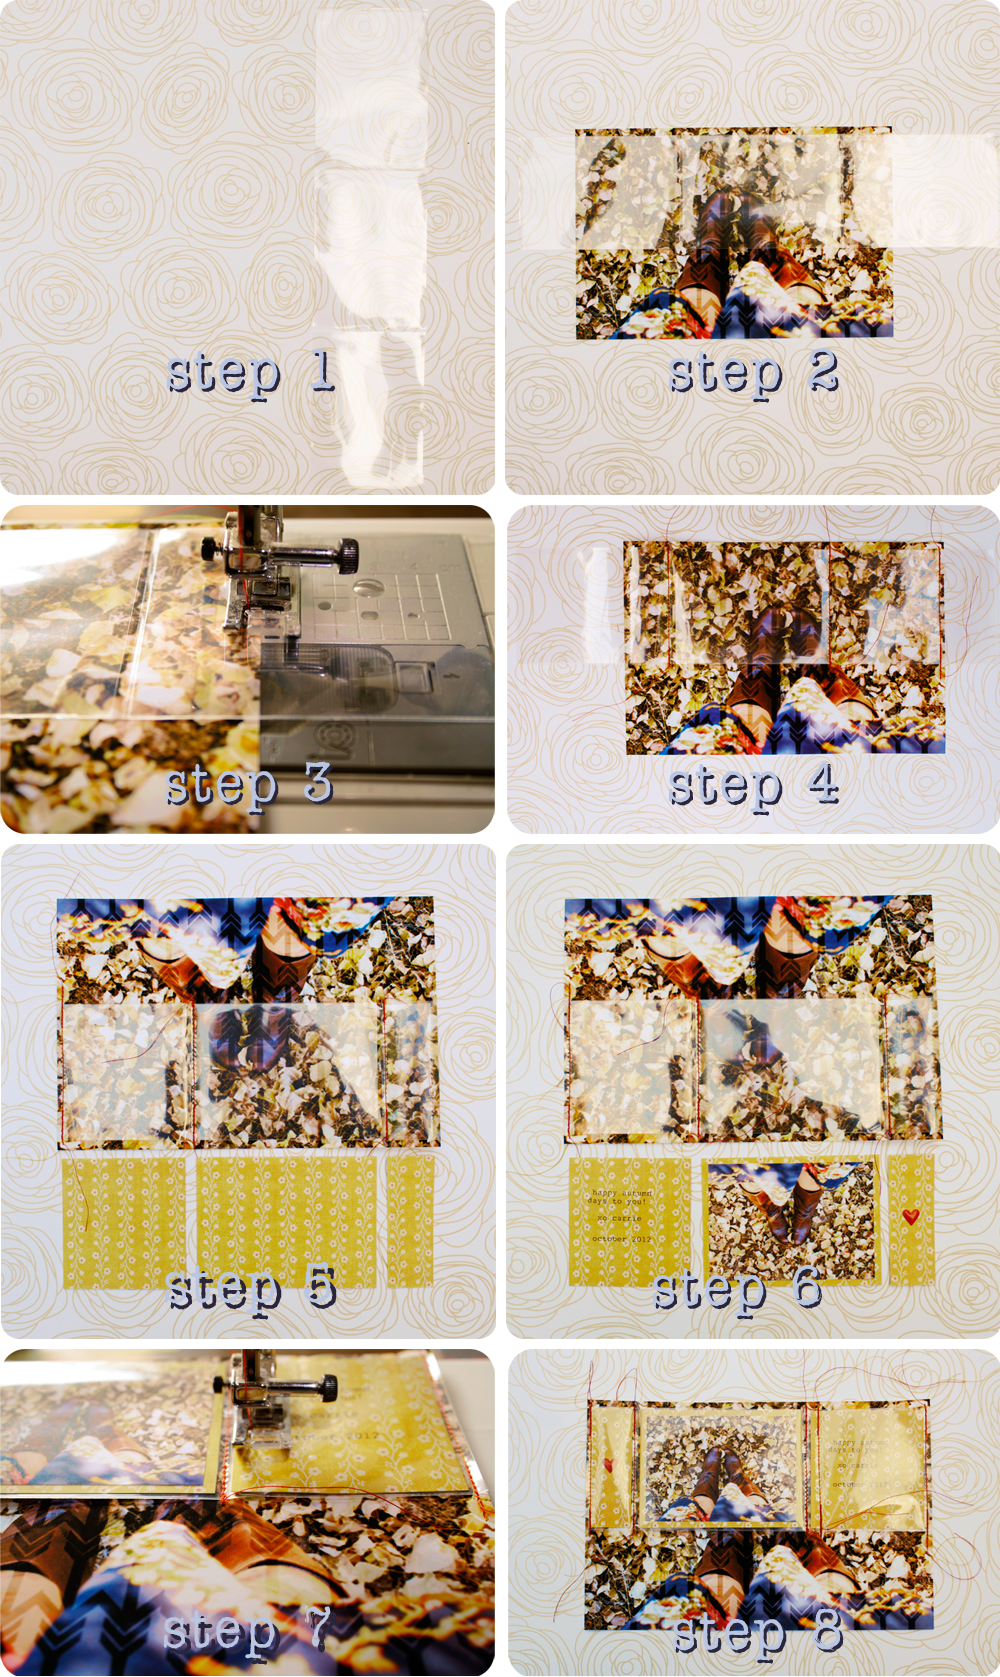
(If you click on the photo above you can see it larger in Flickr.)
 
  • Step 1.  Trim your page protector down to one column of three pockets (there are 9 pockets total in a baseball card size page protector sheet).  I ended up trimming a few columns too skinny (since I made multiple cards) so the open end of each pocket was only secure on two instead of three sides. Not to worry. Once your card is complete this won't be a problem.
  • Step 2.  Layer your trimmed page protector piece over the large photo.  You will want to place it where you think it looks best since it will end up covering that part of your photo.  Make sure at least one full 2 1/2 x 3 1/2 pocket will not be cut (the middle one), and another is large enough for you to write your note.  The third will be cut the smallest and hold your embellishment.
  • Step 3.  Sew your page protector to your photo keeping the open end for each pocket facing up.  Make sure to only sew on the edge of each pocket opposite the open end.  I think the page protector lays nicely when you start by sewing the pockets on right and left first, and the one in the middle last.
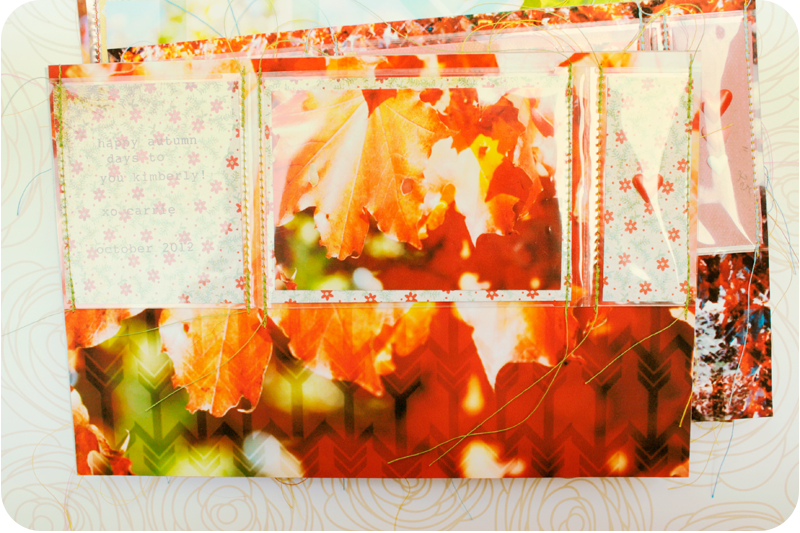
  • Step 4.  Your photo will now look like this.  Cut the excess page protector off.
  • Step 5.  Using your scrap paper, cut pieces to fit inside each of the page protector pockets.
  • Step 6.  Trim your small photo just enough so the scrap paper piece sized at 2 1/2 x 3 1/2 shows around it's edge.  Attach your photo to this piece.  Add your note/message to the scrap paper piece that is the next size down (I used my typewriter).  Layer your embellishment over the smallest scrap paper piece.  Place all three pieces of finished scrap paper inside their matching pockets.
  • Step 7.  Sew the open end of each filled pocket shut.
  • Step 8.  Layer your chipboard in between the large photo and large piece of scrapbook paper.  This card is just one thick piece, kind of like a postcard.  All done.
 
Notes >>> This would also make a cute cover to the front of a minibook.  I ended up making an extra card just for myself and think I may use it as the cover of a book to keep track of my Autumn Wishlist.  You could also alter this card so it is just the front of an actual folding card.....if you'd like to write a longer note, or be more traditional.  Sending you lots of holiday cheer!  Have fun!!!

Tuesday, October 30, 2012

a little {autumn} snail mail love

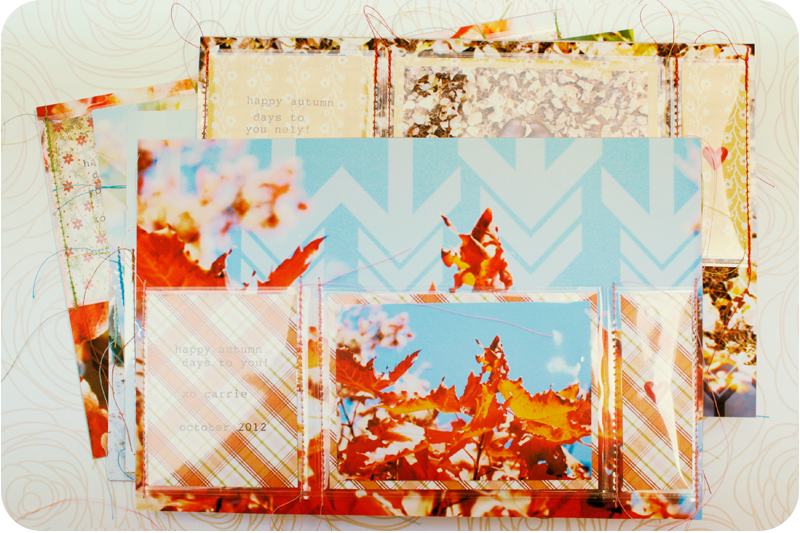
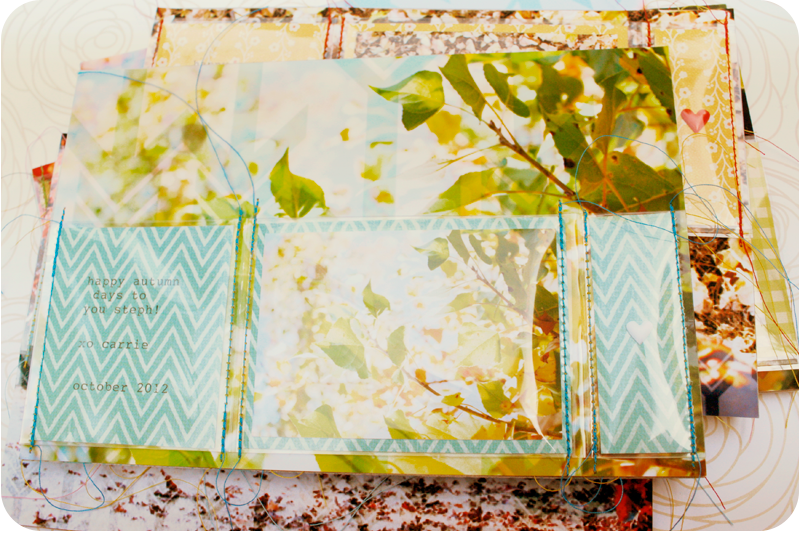
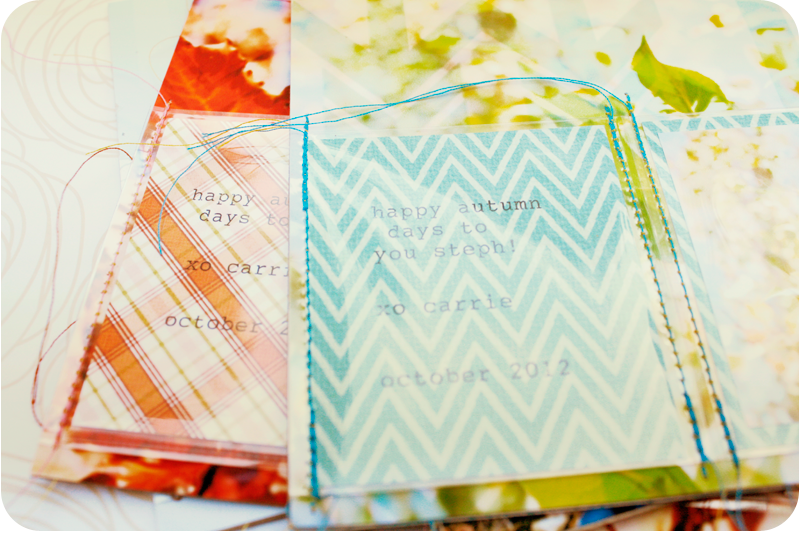
{autumn} snail mail One of the items on my autumn wishlist was to send my friends in San Diego some snail mail. So I created these cards to share a little fall love.
 
I used the altered photos from yesterday's video tutorial as the base of my card, printing them out at 5 x 7 1/2.  Then, I just layered fun stuff on top.  Tomorrow I'll be sharing the DIY on how I actually put them together.  Sorry in advance for the glare on the pics below.
 
Sending lots of autumn love to you all!!!

{autumn} cards | yellow {autumn} cards | blue {autumn} cards | journaling {autumn} cards | green {autumn} cards | threads {autumn} cards | orange {autumn} cards | red {autumn} cards | hearts

Monday, October 29, 2012

{how to} layering transaprencies over photos


I've had a couple questions about how to use the Transparencies in my shop.  The technique I use is so simple, today I decided to share a short video on how I like to layer transparencies over my photos.  (I use Photoshop CS5, but the steps are the same in Photoshop Elements.)  Enjoy!


Layering Transparencies Over Photos from Carrie Elias on Vimeo.

The same basic steps from the video applies to the four photos above.  You just have to play around a little to get the exact look you want.  To give you a comparison, here are the specific Photoshop layer details I used for each:
 
Upper left >>>
  • Transparency used - Arrows in Black
  • Layered over the photo with - Soft Light at 50%
Upper right >>>
  • Transparency used - Arrows in Mint
  • Layered over the photo with - Soft Light at 100%
Lower left >>>
  • Transparency used - Arrows in Mint
  • Layered over the photo with - Multiply at 80%
Lower right >>>
  • Transparency used - Arrows in Black
  • Layered over the photo with Soft Light at 100%

I'm always happy to answer any questions you have.  See you tomorrow for the Autumn cards I made using these images!  Have fun playing with your transparencies!!!

Sunday, October 28, 2012

{how to} stamping | printing on vellum

{stamping | printing} on vellum tutorial
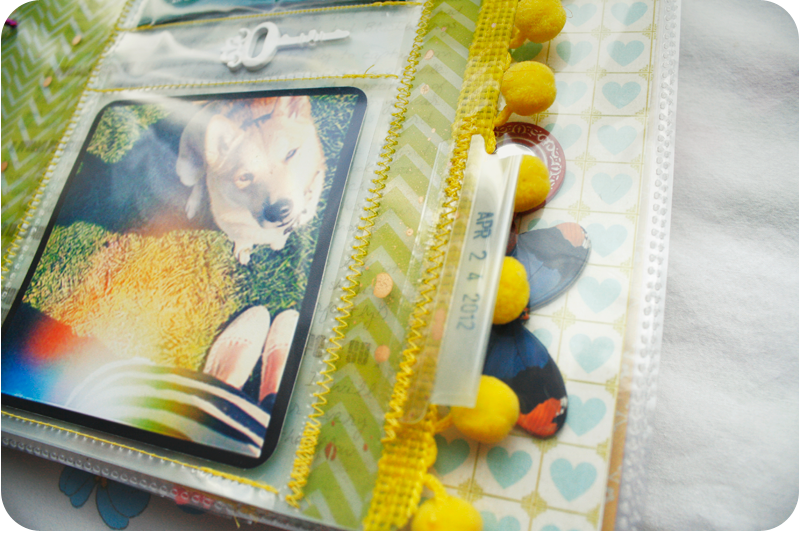
{2012} WITL April 24

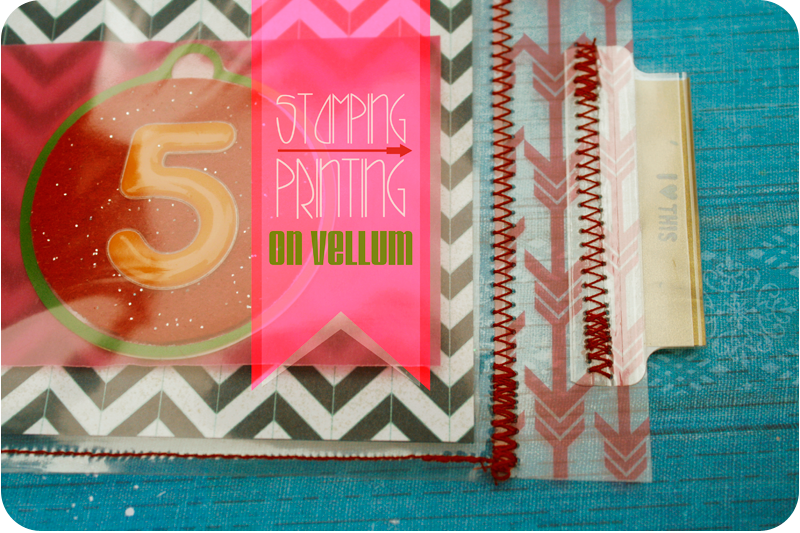
Happy Sunday lovely peoples! When I was designing my Elias Week In The Life Minibook, I wanted to add both stamping and printing on vellum. This presented a problem since vellum is very water resistant.....so I decided to look it up, and here is what I learned.
 
(Both the index tab inserts above are stamped on vellum.)
 
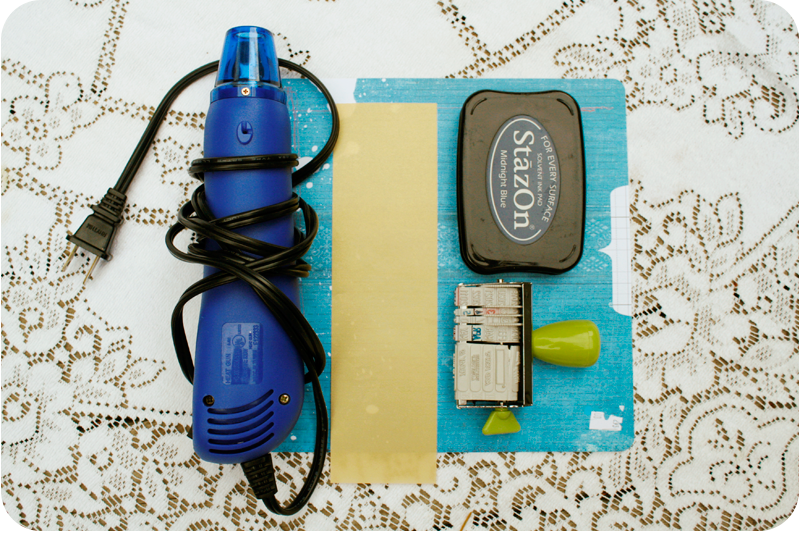
Supplies for stamping on vellum:
  • Heating tool
  • Vellum
  • Ink pad
  • Stamp

{stamping} on vellum | supplies

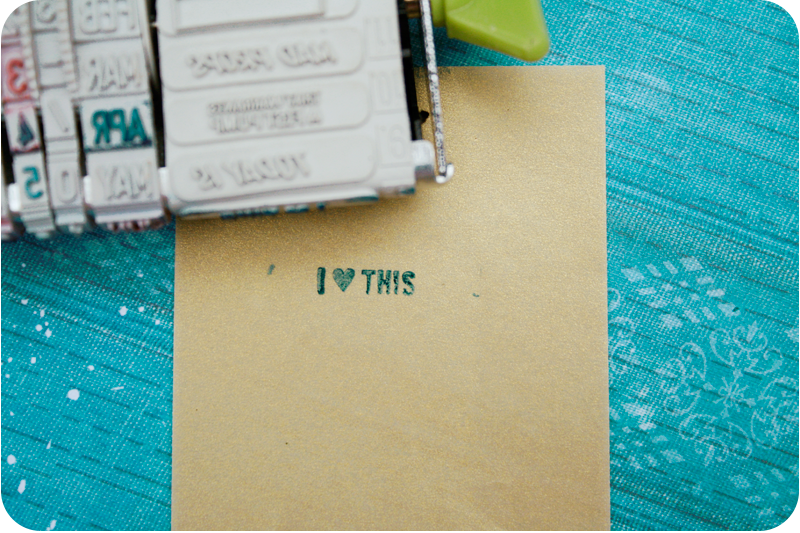
Step 1 >>> Add ink to your stamp.

{stamping} on vellum | inked up

Step 2 >>> Stamp onto vellum.

{stamping} on vellum

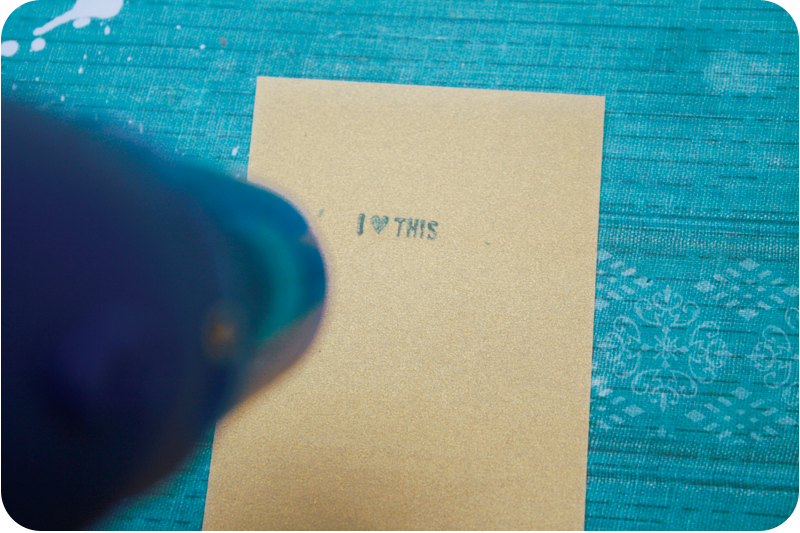
Step 3 >>> Use your heating tool to dry the ink.  You will probably notice that the ink color will lighten slightly once it is dry.  All done!

{stamping} on vellum | add heat

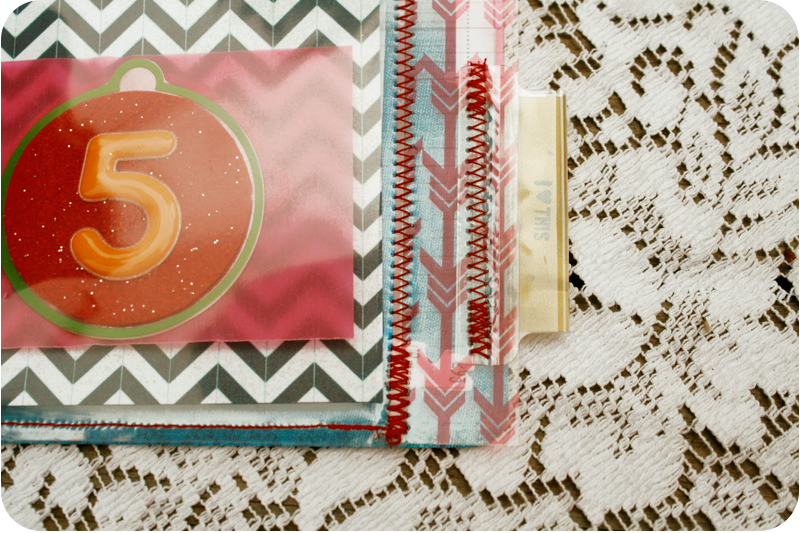
Now you can trim your vellum and add it to your project.

{stamping} on vellum | index tab

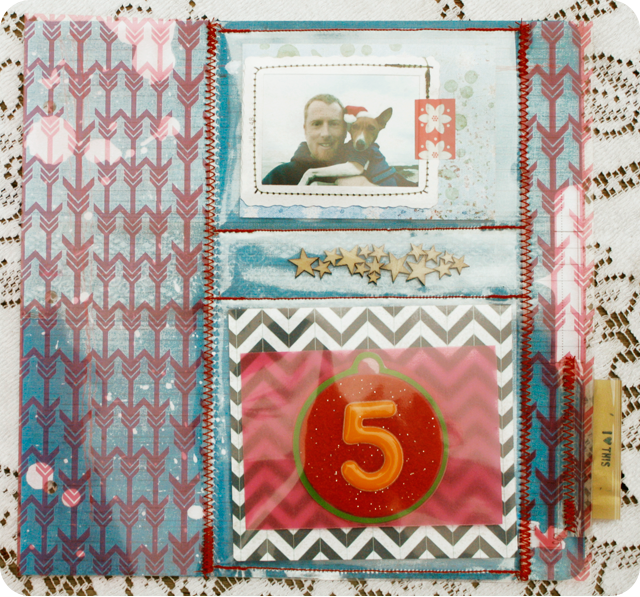
Below is the Arrows Transparency that I printed onto inkjet transparency film with my printer and used to make my Handmade Page Protector.  I samped the *I love this* onto gold vellum to insert into the index tab attached.

And here is the example of my Handmade Page Protector which you will learn to make in my 10 page PDF. Anyone who purchases a product from my Blume and Grow Market will also get said tuturial as a bonus :D

{finished} page protector with stamped index tag

OK, now for printing on vellum.  It is the same idea.  Basically just use your heating tool to dry the ink once you've run your vellum through your printer or typewriter, etc....  I wanted to learn how to print on vellum so I could add the journaling for my  Elias Week In The Life Minibook.  And here's an example of how it turned out.  You can see the rest of my minibook pages here and here.  Have fun with this new technique!

{2012} WITL Pgs 13&14